
In recent years, Mautic became one of the most promising players in the marketing automation industry. Their approach to open marketing and active community makes them unique by offering powerful tools to your disposal, without setting a price tag. Of course, you can pay for their service and additional tools that will help you manage your marketing activities at scale. The open-source nature of Mautic, allows you to use it on your servers, without additional costs. However, one of the things you need to take care by yourself is Mautic installation.
All you need to get started with Mautic is one server, preferably dedicated or VPS and a couple of hours for proper configuration.
This post will be a part of a series where I will try to explain to you how to set up and run your Mautic instance. The first part will cover preparing and configuration of the server, as well as the installation process. So let’s jump in.
To run a Mautic, you can use whatever the server stack you want, as long as it has the ability to run PHP applications and have the MySQL database server. For full requirements, you can check their website for specific versions.
In this series, I will use the following stack:
- Fresh Ubuntu 18.04 server
- LEMP stack (PHP 7.2, Nginx, MariaDB 10.4)
- For queue management, I will use the RabbitMQ management system
I’ll assume that you are using a fresh install of Ubuntu 18.04 Server.
At the end of these series, you will have a complete marketing automation tool with only costs being charges for your server.
Preparing server
Before installing Mautic, we first need to install our web server and database.
SSH to your server and get the latest updates
sudo apt update
sudo apt upgrade -y
After the process is complete install the nginx server:
sudo apt install nginxNext, we are installing PHP 7.2 (as of the moment of writing this article, Mautic still requirements are limited to max PHP 7.2). Alongside PHP we will install all required extensions as well. The default PHP version in Ubuntu 18.04 is 7.2 so installation is a piece of cake.
sudo apt install -y php7.2 php7.2-common php7.2-gmp php7.2-curl php7.2-intl php7.2-mbstring php7.2-xmlrpc php7.2-mysql php7.2-bcmath php7.2-gd php7.2-xml php7.2-cli php7.2-zipNow let’s enable PHP-FPM service
sudo service php7.2-fpm enableAnd make sure that the service is started
sudo service php7.2 restartThe last part of our stack is installing MariaDB database server. First, let’s install software-properties-common package in case it’s missing
sudo apt-get install software-properties-commonNext, we’ll add the repository key to our system:
sudo apt-key adv --recv-keys --keyserver hkp://keyserver.ubuntu.com:80 0xF1656F24C74CD1D8Once we added the repository key, we’ll add MariaDB repository which will allow us to install our database server.
sudo add-apt-repository "deb [arch=amd64,arm64,ppc64el] http://mariadb.mirror.liquidtelecom.com/repo/10.4/ubuntu $(lsb_release -cs) main"Last step database server configuration is installation itself
sudo apt update

sudo apt -y install mariadb-server mariadb-client
Create a database for Mautic instance
MariaDB 10.4 comes with new authentication system so you can log in to database by using a command
sudo mysqlWe are gonna create a database:
create database mautic;Next, we will create a user:
create user ‘mautic’@’localhost’ identified by ‘StrongPassword’;When creating a new user, I suggest that you create a strong password, you can use strongpasswordgenerator.com. However, remember that password since you will need it during Mautic installation.
We will allow all permissions on the database to the created user:
grant all permissions on ‘mautic’.*  to ‘mautic’@’localhost’;
flush privileges;
EXIT;
Congratulations, you have completed database configuration. We have three more steps to complete before installing the Mautic.
Nginx configuration
First, big shoutout to Matthew Macdonald-Wallace who created gists with for nginx and PHP-FPM configurations. I’ve modified them a bit for the needs of this tutorial.
Note: In the tutorial, I will use the domain name mautic.yourdomain.com. In order to make it work, replace this domain with your domain name in all the following files.
Create a new nginx configuration file by running the command:
sudo nano /etc/nginx/sites-available/mautic.yourdomain.com.confCopy the following lines to a newly created file. Don’t forget to update the domain to the one you will use!
server {
    listen 80;
    server_name   mautic.yourdomain.com; # This is the domain name you want to use for your Mautic installation
    root /var/www/mautic.yourdomain.com/htdocs; # The path where you will download your Mautic installation
    server_tokens off;
    add_header 'Access-Control-Allow-Headers' 'Authorization,Content-Type,Accept,Origin,User-Agent,DNT,Cache-Control,X-Mx-ReqToken,Keep-Alive,X-Requested-With,If-Modified-Since';
    add_header 'Access-Control-Allow-Methods' 'GET, POST, OPTIONS';

    error_log /var/www/mautic.yourdomain.com/logs/error_log; # Path for error logs if they appear, for easier debugging
    access_log /var/www/mautic.yourdomain.com/logs/access_log; # Path for access logs

    client_max_body_size 64M;

    gzip on;
    gzip_disable "msie6";
    gzip_min_length 256;

    gzip_vary on;
    gzip_proxied any;
    gzip_comp_level 6;
    gzip_buffers 16 8k;
    gzip_http_version 1.1;
    gzip_types
        font/truetype
        font/opentype
        font/woff2
        text/plain
        text/css
        text/js
        text/xml
        text/javascript
        application/javascript
        application/x-javascript
        application/json
        application/xml
        application/rss+xml
        image/svg+xml;

        error_page 404 /index.php;


    # redirect index.php to root
    rewrite ^/index.php/(.*) /$1  permanent;

    #######################################
    ##  Start Mautic Specific config #####
    #######################################

    # redirect some entire folders
    rewrite ^/(vendor|translations|build)/.* /index.php break;

    location / {
        # First attempt to serve request as file, then
        # as directory, then fall back to index.html
        # one option: try_files $uri $uri/ /index.php$is_args$args;
        try_files $uri /index.php$is_args$args;
        # Uncomment to enable naxsi on this location
        # include /etc/nginx/naxsi.rules
    }

    # Deny everything else in /app folder except Assets folder in bundles
    location ~ /app/bundles/.*/Assets/ {
        allow all;
        access_log off;
    }
    location ~ /app/ { deny all; }

    # Deny everything else in /addons or /plugins folder except Assets folder in bundles
    location ~ /(addons|plugins)/.*/Assets/ {
        allow all;
        access_log off;
    }
    # location ~ /(addons|plugins)/ { deny all; }

    # Deny all php files in themes folder
    location ~* ^/themes/(.*)\.php {
        deny all;
    }

    # Don't log favicon
    location = /favicon.ico {
        log_not_found off;
        access_log off;
    }

    # Don't log robots
    location = /robots.txt  {
        access_log off;
        log_not_found off;
    }

    # Deny yml, twig, markdown, init file access
    location ~* /(.*)\.(?:markdown|md|twig|yaml|yml|ht|htaccess|ini)$ {
        deny all;
        access_log off;
        log_not_found off;
    }

    # Deny all attempts to access hidden files/folders such as .htaccess, .htpasswd, .DS_Store (Mac), etc...
    location ~ /\. {
        deny all;
        access_log off;
        log_not_found off;
    }

    # Deny all grunt, composer files
    location ~* (Gruntfile|package|composer)\.(js|json)$ {
        deny all;
        access_log off;
        log_not_found off;
    }

    # Solve email tracking pixel not found
    location ~ email/(.*).gif {
        try_files $uri /index.php?$args;
    }

    # Solve JS Loading 404 Error
    location ~ (.*).js {
        try_files $uri /index.php?$args;
    }

    #######################################
    ##  End Mautic Specific config #####
    #######################################

    location ~*  \.(jpg|jpeg|png|ico|pdf)$ {
        expires 15d;
    }

    # Deny access to any files with a .php extension in the uploads directory
    location ~* /(?:uploads|files)/.*\.php$ {
        deny all;
    }

    location ~ \.php$ {
        try_files $uri =404;
        fastcgi_split_path_info ^(.+\.php)(/.+)$;
        fastcgi_index index.php;
        fastcgi_pass  127.0.0.1:9002;  # The port on which PHP-FPM process will run
        fastcgi_param  SCRIPT_FILENAME $document_root$fastcgi_script_name;
        include fastcgi_params;
    }
}
Check if your configuration file contains any errors:
sudo nginx -t
nginx: the configuration file /etc/nginx/nginx.conf syntax is ok
nginx: configuration file /etc/nginx/nginx.conf test is successful
If your output matches the lines above, you should enable the created site configuration
sudo ln -s /etc/nginx/sites-available/mautic.yourdomain.com.conf /etc/nginx/sites-enabled/and restart the nginx service
sudo service nginx restartPHP-FPM configuration
We are getting closer to finishing the configuration of our server. What we have remaining is configuring the PHP-FPM and the last step will be adding the LetsEncrtypt SSL certificate to our Mautic installation.
Let’s create a new PHP-FPM pool for our instance.
sudo nano /etc/php/7.2/fpm/pool.d/mautic.confCopy and paste the following lines to the newly created file. And again, don’t forget to update the domain name. Also, don’t forget to update the timezone to the location of your server.
[mautic]
user = www-data
group = www-data
; Match the listen directive to the one from your nginx configuration
listen = 127.0.0.1:9002
pm = dynamic
pm.max_children = 5
pm.start_servers = 1
pm.min_spare_servers = 1
pm.max_spare_servers = 2
slowlog = /var/www/mautic.yourdomain.com/logs/mautic-slow.log
php_admin_value[error_log] = /var/www/mautic.yourdomain.com/mautic-error.log
php_admin_value[open_basedir] = /var/www/mautic.yourdomain.com/htdocs
php_admin_value[upload_tmp_dir] = /var/www/mautic.yourdomain.com/htdocs/tmp
php_admin_flag[log_errors] = on
; Change the timezone to match your servers timezone
php_admin_value[date.timezone] = Europe/Amsterdam
Let’s restart the PHP-FPM service
sudo service php7.2-fpm restart
With our nginx and php-fpm configuration complete, let’s secure our instance by adding SSL certificate. Before we proceed with the final step, make sure that you update your domain settings to point to your server. If you are using mautic.yourdomain.com to host your instance, then you must create A record for mautic.yourdomain.com that will point to the IP address of your server.
Note: If you are using Cloudflare to manage your DNS settings, you must disable CF Proxy and expose your server’s IP address in order to generate the LetsEncrypt SSL certificate.
Assuming that you created DNS records, now it’s time for the configuration of your webserver. We will enable Ubuntu’s firewall ufw and allow only SSH, HTTP and HTTPS protocols on it.
sudo ufw allow 'OpenSSH'

sudo ufw allow 'Nginx Full'

sudo ufw reload
Check the status of ufw
sudo ufw status

Status: active

To                         Action      From
--                         ------      ----
OpenSSH                    ALLOW       Anywhere
Nginx Full                 ALLOW       Anywhere
OpenSSH (v6)               ALLOW       Anywhere (v6)
Nginx Full (v6)            ALLOW       Anywhere (v6)
If you get the status like the output above, you may proceed with the installation of Certbot which we will use to generate and renew the SSL certificate.
We are gonna add Certbot repository:
sudo add-apt-repository ppa:certbot/certbot
sudo apt update
After the update is complete, let’s install the Certbot itself
sudo apt-get install python-certbot-nginxAfter the installation is complete, all we have to do now is to run a command that will generate our certificate and add it to the server.
sudo certbot --agree-tos -m [email protected] --redirect -d mautic.yourdomain.comSaving debug log to /var/log/letsencrypt/letsencrypt.log
Plugins selected: Authenticator nginx, Installer nginx
Obtaining a new certificate
Performing the following challenges:
http-01 challenge for mautic.yourdomain.com
Waiting for verification...
Cleaning up challenges
Deploying Certificate to VirtualHost /etc/nginx/sites-enabled/mautic.yourdomain.com.conf
Redirecting all traffic on port 80 to ssl in /etc/nginx/sites-enabled/mautic.yourdomain.com.conf
- - - - - - - - - - - - - - - - - - - - - - - - - - - - - - - - - - - - - - - -
Congratulations! You have successfully enabled https://mautic.yourdomain.com
You should test your configuration at:
https://www.ssllabs.com/ssltest/analyze.html?d=mautic.yourdomain.com
- - - - - - - - - - - - - - - - - - - - - - - - - - - - - - - - - - - - - - - -
IMPORTANT NOTES:
- Congratulations! Your certificate and chain have been saved at:
/etc/letsencrypt/live/mautic.yourdomain.com/fullchain.pem
Your key file has been saved at:
/etc/letsencrypt/live/mautic.yourdomain.com/privkey.pem
Your cert will expire on 2020-01-30. To obtain a new or tweaked
version of this certificate in the future, simply run certbot again
with the "certonly" option. To non-interactively renew *all* of
your certificates, run "certbot renew"
- If you like Certbot, please consider supporting our work by:
Donating to ISRG / Let's Encrypt: https://letsencrypt.org/donate
Donating to EFF: https://eff.org/donate-leIf you receive the output like the one below, congratulations! You have successfully configured your web server and you are ready to proceed to the next step, installation of Mautic which I will cover in the next article. Thanks for reading. If you have any questions feel free to reach out to me via the comments section below or shoot me an email at [email protected]
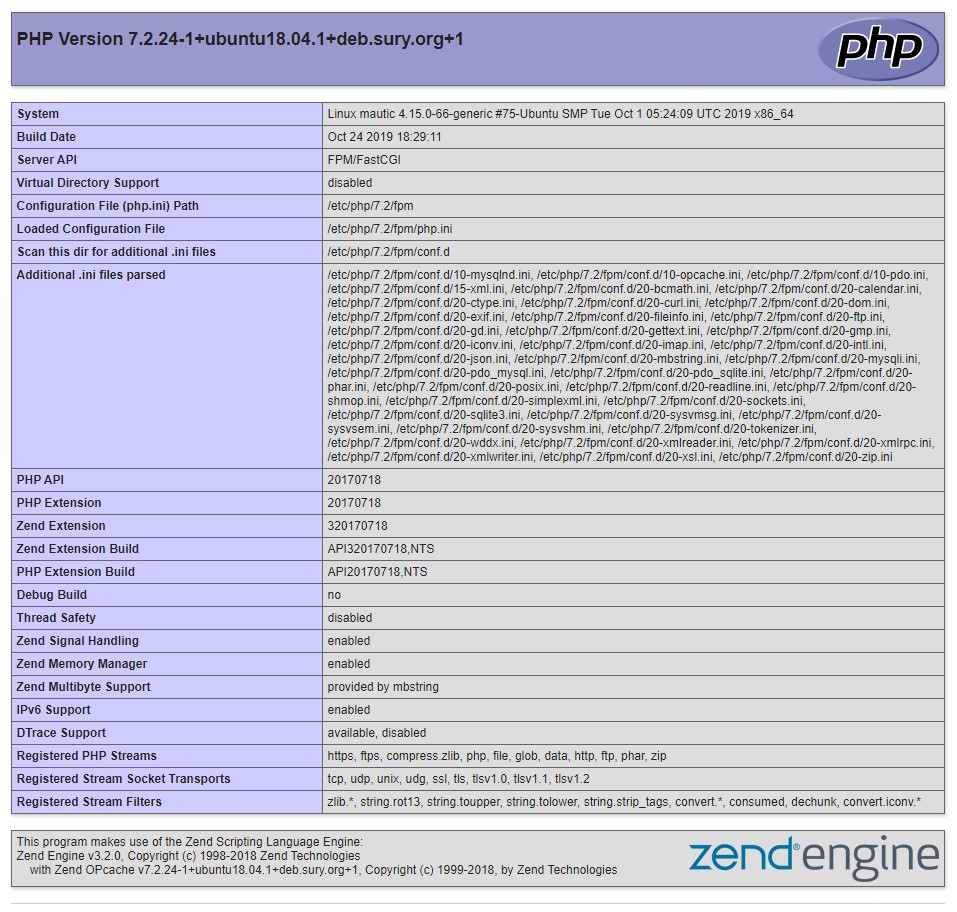
And in case you want to go for the extra mile, you can test the configuration by creating a php info file and opening it in your browser.
sudo nano /var/www/mautic.yourdomain.com/htdocs/index.phpAdd the following lines
<?php phpinfo();Save the file and exit the editor.
Now, when you open up the website on https://mautic.yourdomain.com you should see the following page:
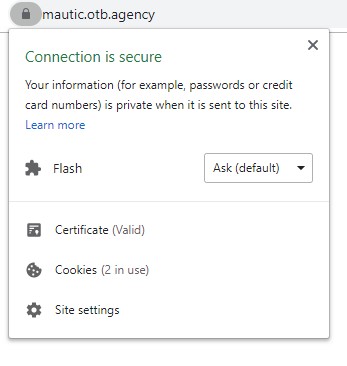
And also, by clicking on the padlock on the left side of the URL in the address bar, you should see the message Connection is secure which confirms that your SSL Certificate is valid and properly installed.
Leave a Reply