
Welcome to part 2 of the Mautic installation series. In the previous part, we were preparing our fresh Ubuntu 18.04 server for hosting open-source marketing automation platform Mautic. In case you missed it, check out the part 1, Configuring Ubuntu 18.04 for Mautic hosting.
Downloading Mautic files
Now, we are stepping into the installation procedure and initial configuration. For that, we will have to get back to the terminal one more time, before the installation.
So, you need to ssh to your server
ssh user@server-ip
If you created phpinfo file from the previous article, you will first need to remove it and then enter your htdocs folder on the server
sudo rm -rf /var/www/mautic.yourdomain.com/htdocs/*
cd /var/www/mautic.yourdomain.com/htdocs
Head over to Mautic GitHub repository and download the latest release (at the time of writing, the most recent version is 2.15.3).
sudo wget https://github.com/mautic/mautic/releases/download/2.15.3/2.15.3.zip
sudo unzip 2.15.3.zip
sudo rm -rf 2.15.3.zip
After that, let’s change the owner of the files from root to www-data to avoid any errors running the app.
cd /var/www/mautic.yourdomain.com/
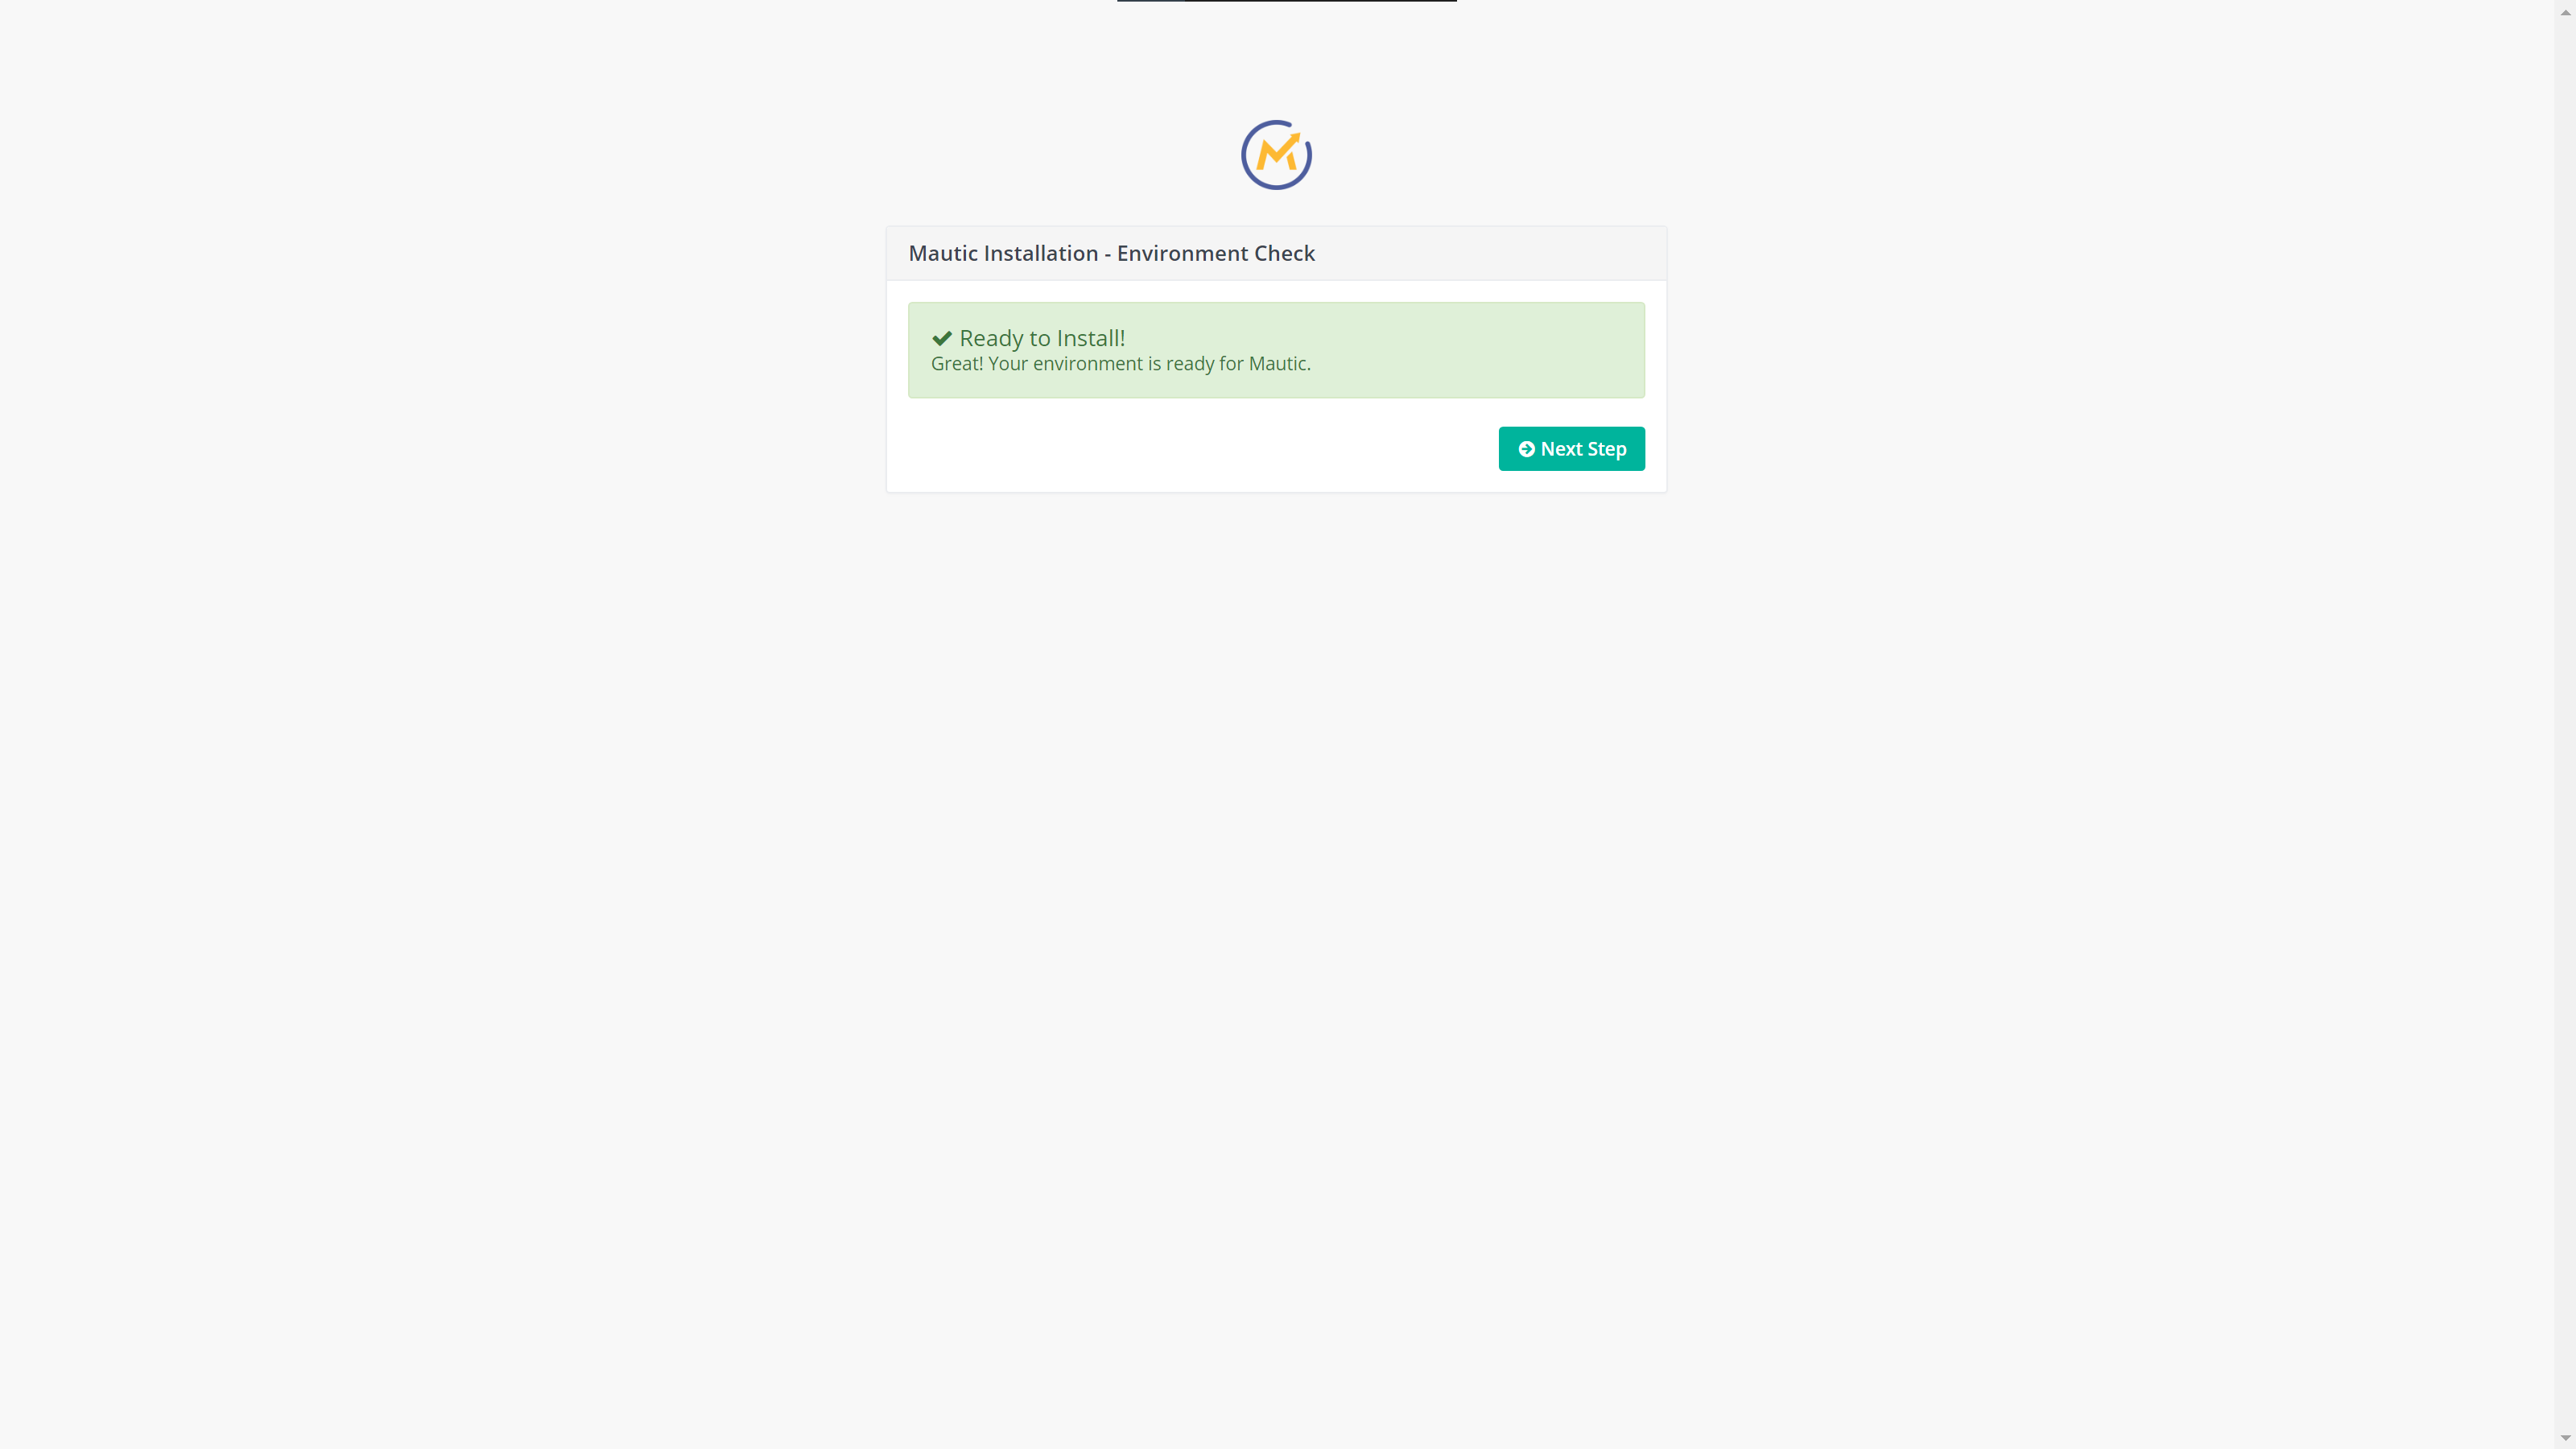
sudo chown -R www-data:www-data htdocs/*With this complete, you can terminate your terminal session and navigate to https://mautic.yourdomain.com in your browser. If you followed all the steps from the previous article, you should be presented with the following screen, informing you that your server is all set up for installing Mautic.
Installing Mautic
In order to install Mautic, you will be guided through 3 simple steps:
- Configure database connection
- Create administrator user
- Configure email transport
So let’s jump right into it.
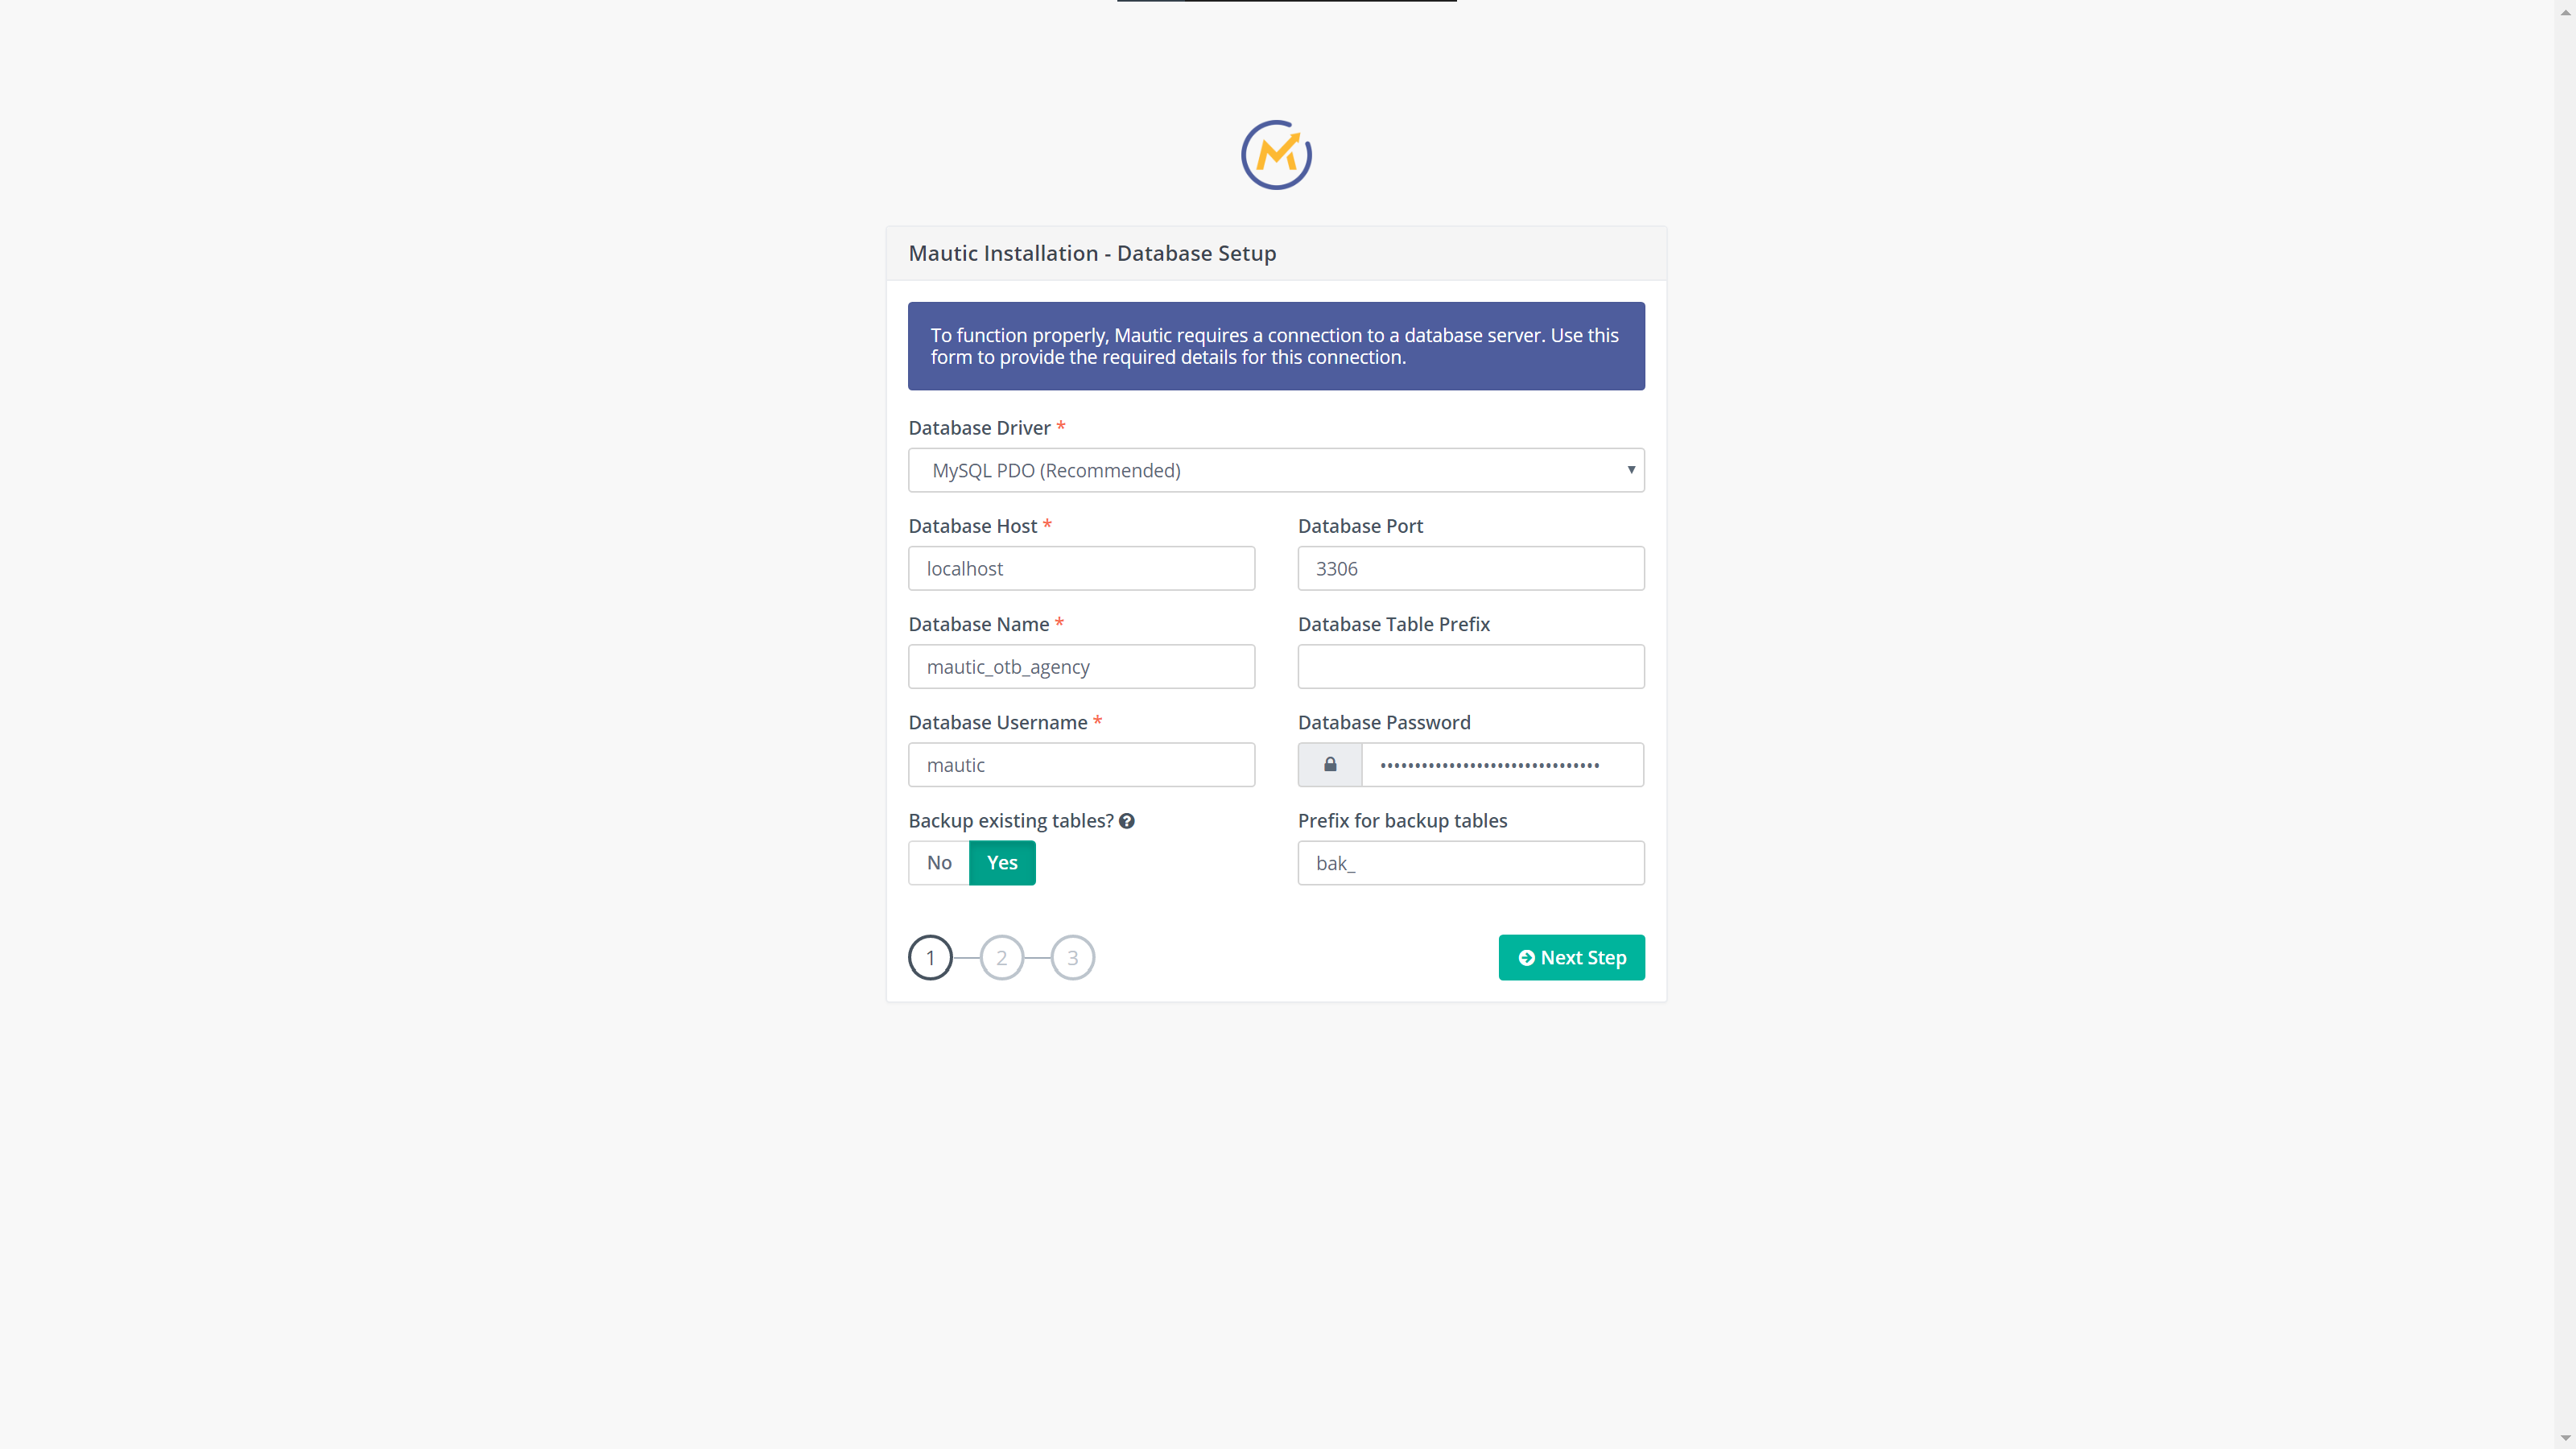
Database information
On the first screen, the installer will ask you for the database name, user and password. If you remember, that information we have from our previous post. Fill in the data required and proceed to the next step.
Admin user
The following screen will ask you to enter the information for the admin user. This will be the first user in the system, however, in Mautic you can create as many users as you need, with different roles and permissions level. In most cases, if you are a small business, you will likely need only one user with all privileges. Like with any passwords, try to make it strong and unique. For this, I suggest again, use strongpasswordgenerator.com to create a random password and keep it somewhere safe.
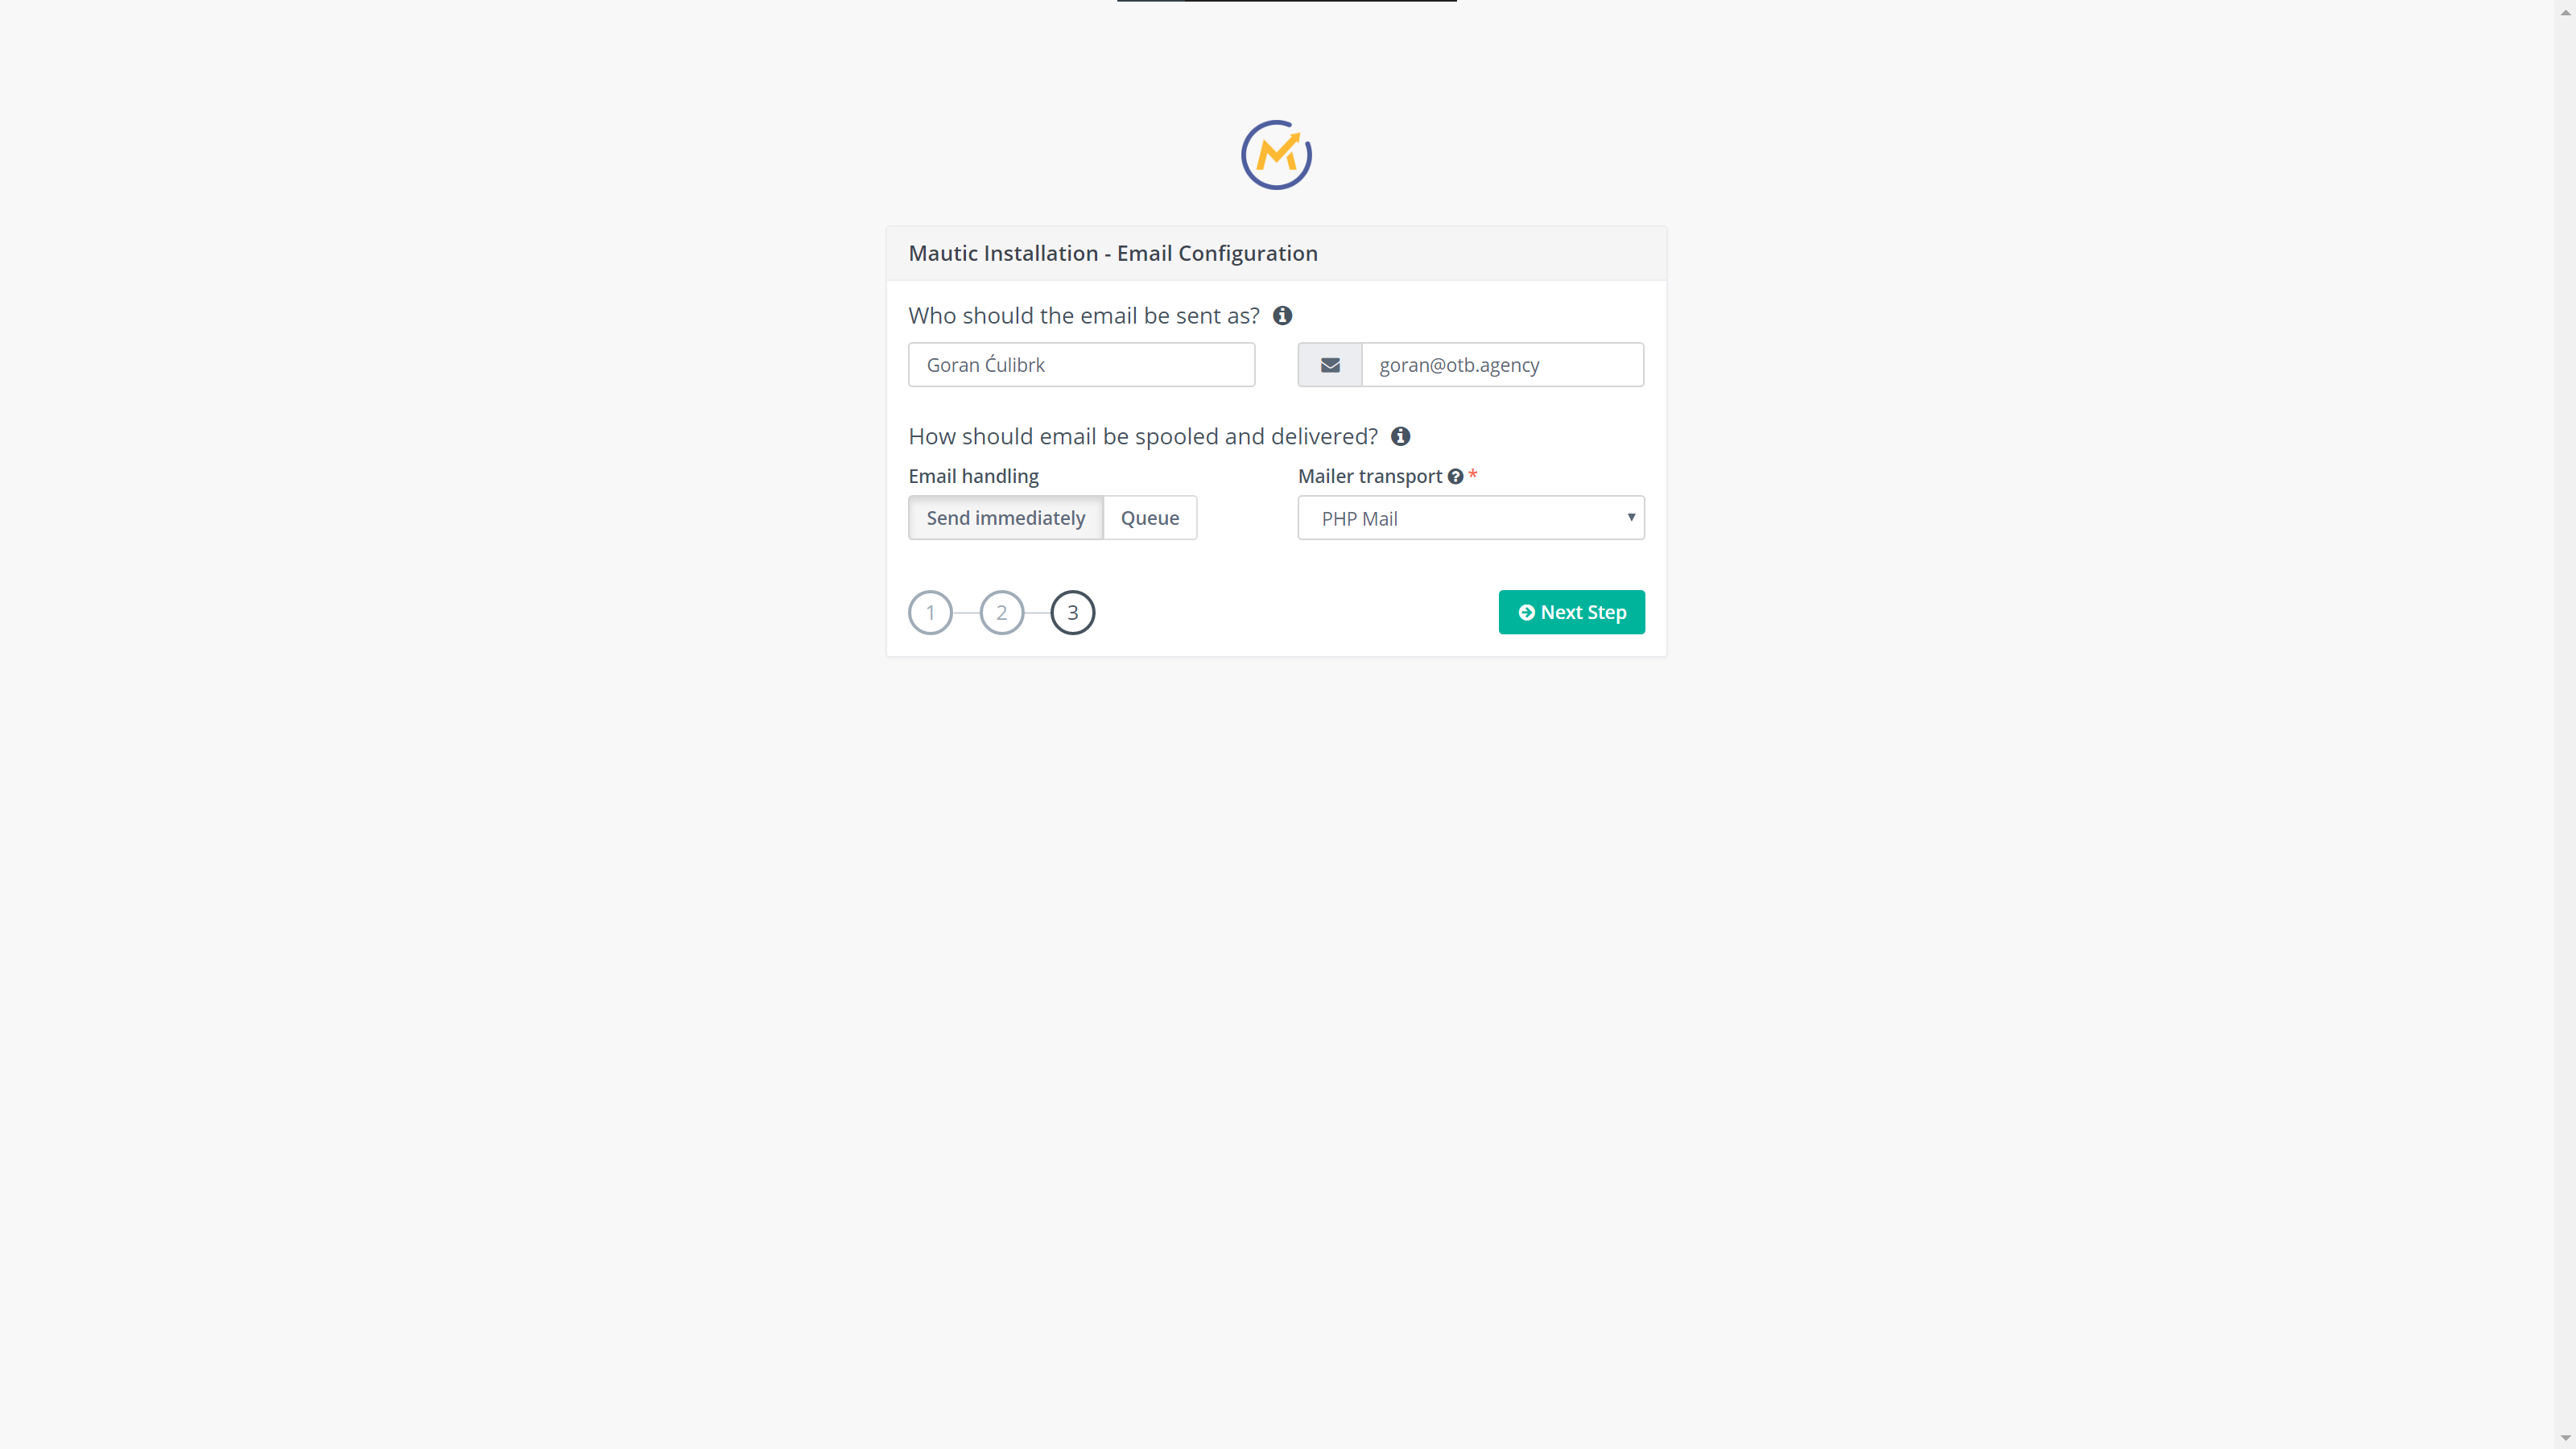
Email configuration
The final step in the installation is configuring the email transport system. Since we are going to use Amazon Simple Email System, we can forward with default configuration since I will cover complete configuration in the next article.
Congratulations
At this stage, your Mautic installation is now complete and you are presented with login screen.
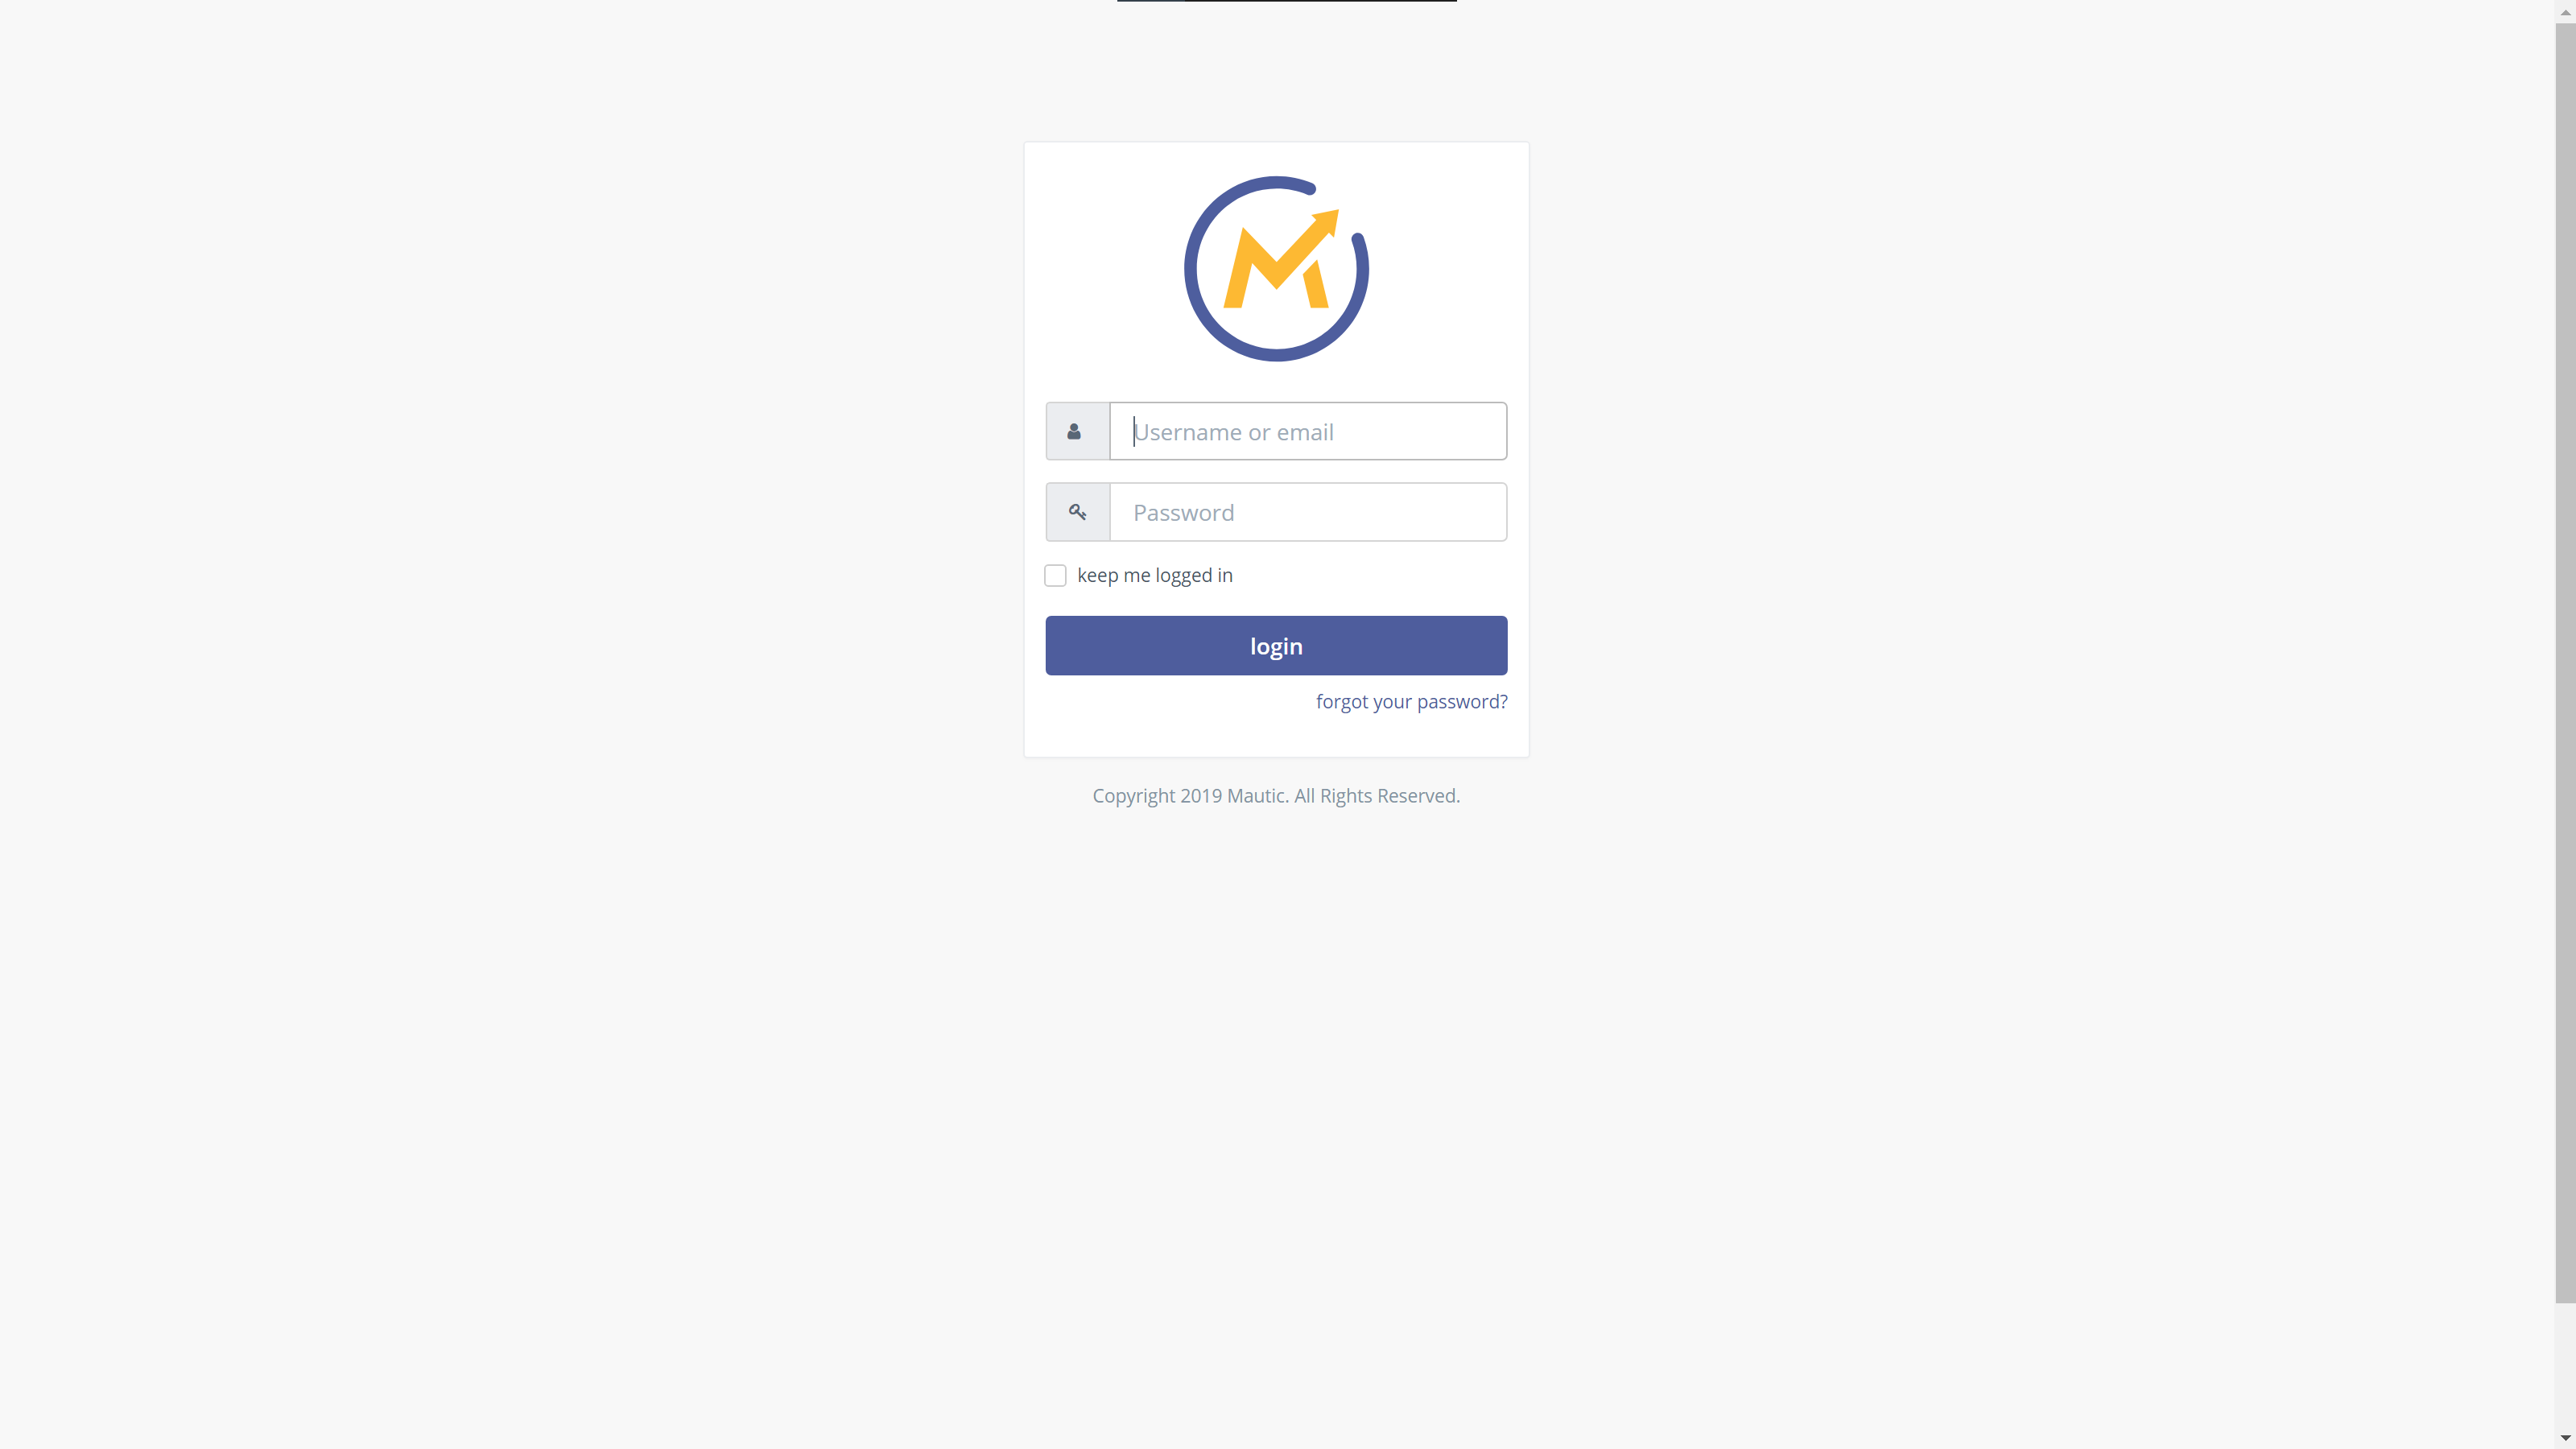
And if you login with the credentials you created in Step 2 of the installer, you will be presented with the Mautic dashboard. The one you should be seeing a lot in the future 🙂

That’s all folks. I’ll see you in the next article where we will cover configuring Mautic to send emails via Amazon Simple Email Service, as well as managing bounces and complaints via Amazon Simple Notification Service.
Peace 🙂
Leave a Reply