
Hi there, welcome the third part of building your open-source marketing automation stack. In this part, In this article, we will configure our instance for sending emails using Amazon SES (Simple Email Service). However, sending emails is not all we need to set up for proper usage. You must have proper bounce and complaints management as well. Mautic provides you with several options, but in our case, two are available. You can either use a Monitored inbox feature or Amazon Simple Notification Service, which will send information directly to Mautic, making the setup cleaner and easier to use.
I will use the second option, managing bounce and complaint management via Amazon SNS. It requires a few extra steps but once configured, you won’t have to worry about bounces and your inbox won’t be flooded with Amazon emails. So, are you ready? Let’s get started 🙂
In this article we will go through 4 steps:
- Verifying domain on Amazon
- Verifying email address on Amazon
- Creating SMTP Credentials
- Configuring Mautic to send emails
First you need to sign up for your Amazon AWS Account. Go to the https://aws.amazon.com/ and click Create an AWS Account. Once you are done, login to your account and search for Simple Email Service. To enable email sending via Amazon, you need to do couple of things:
- Verify the domain that you will be sending from
- Verify the email address that you will use to send your emails
Domain verifications is done using your DNS providers while email verification is based on confirming the address by receiving the email from Amazon to your inbox.
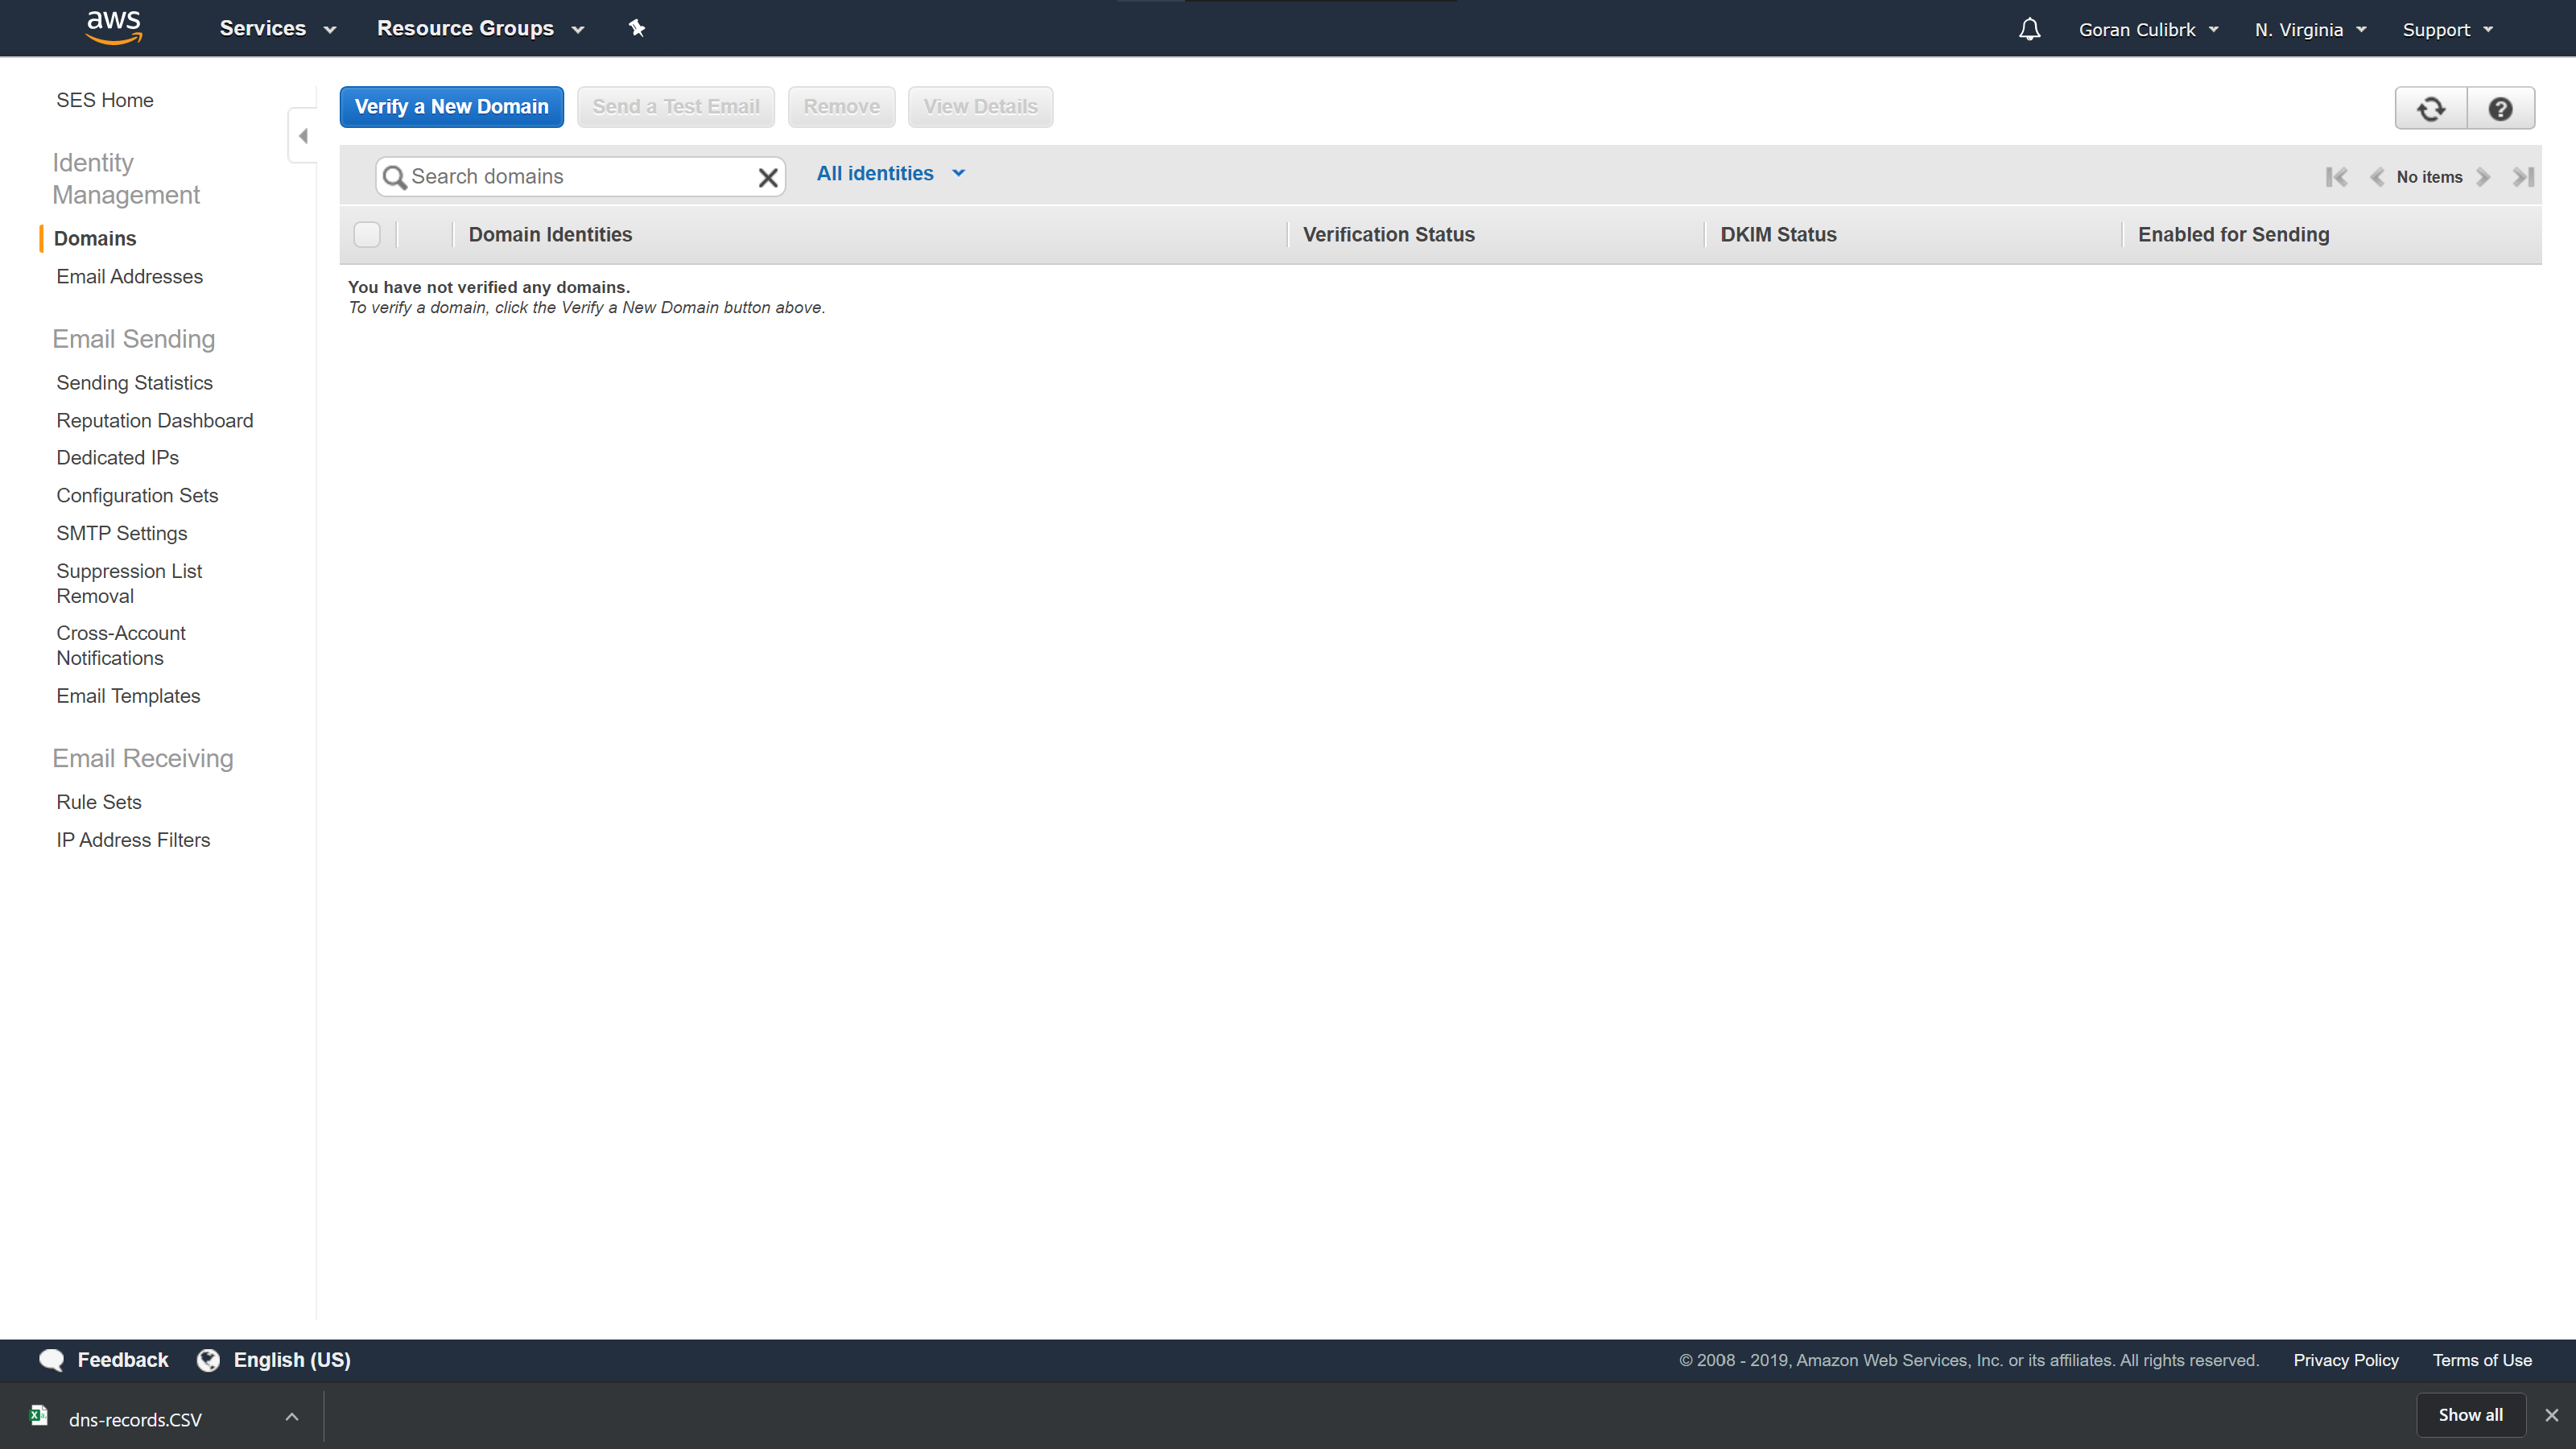
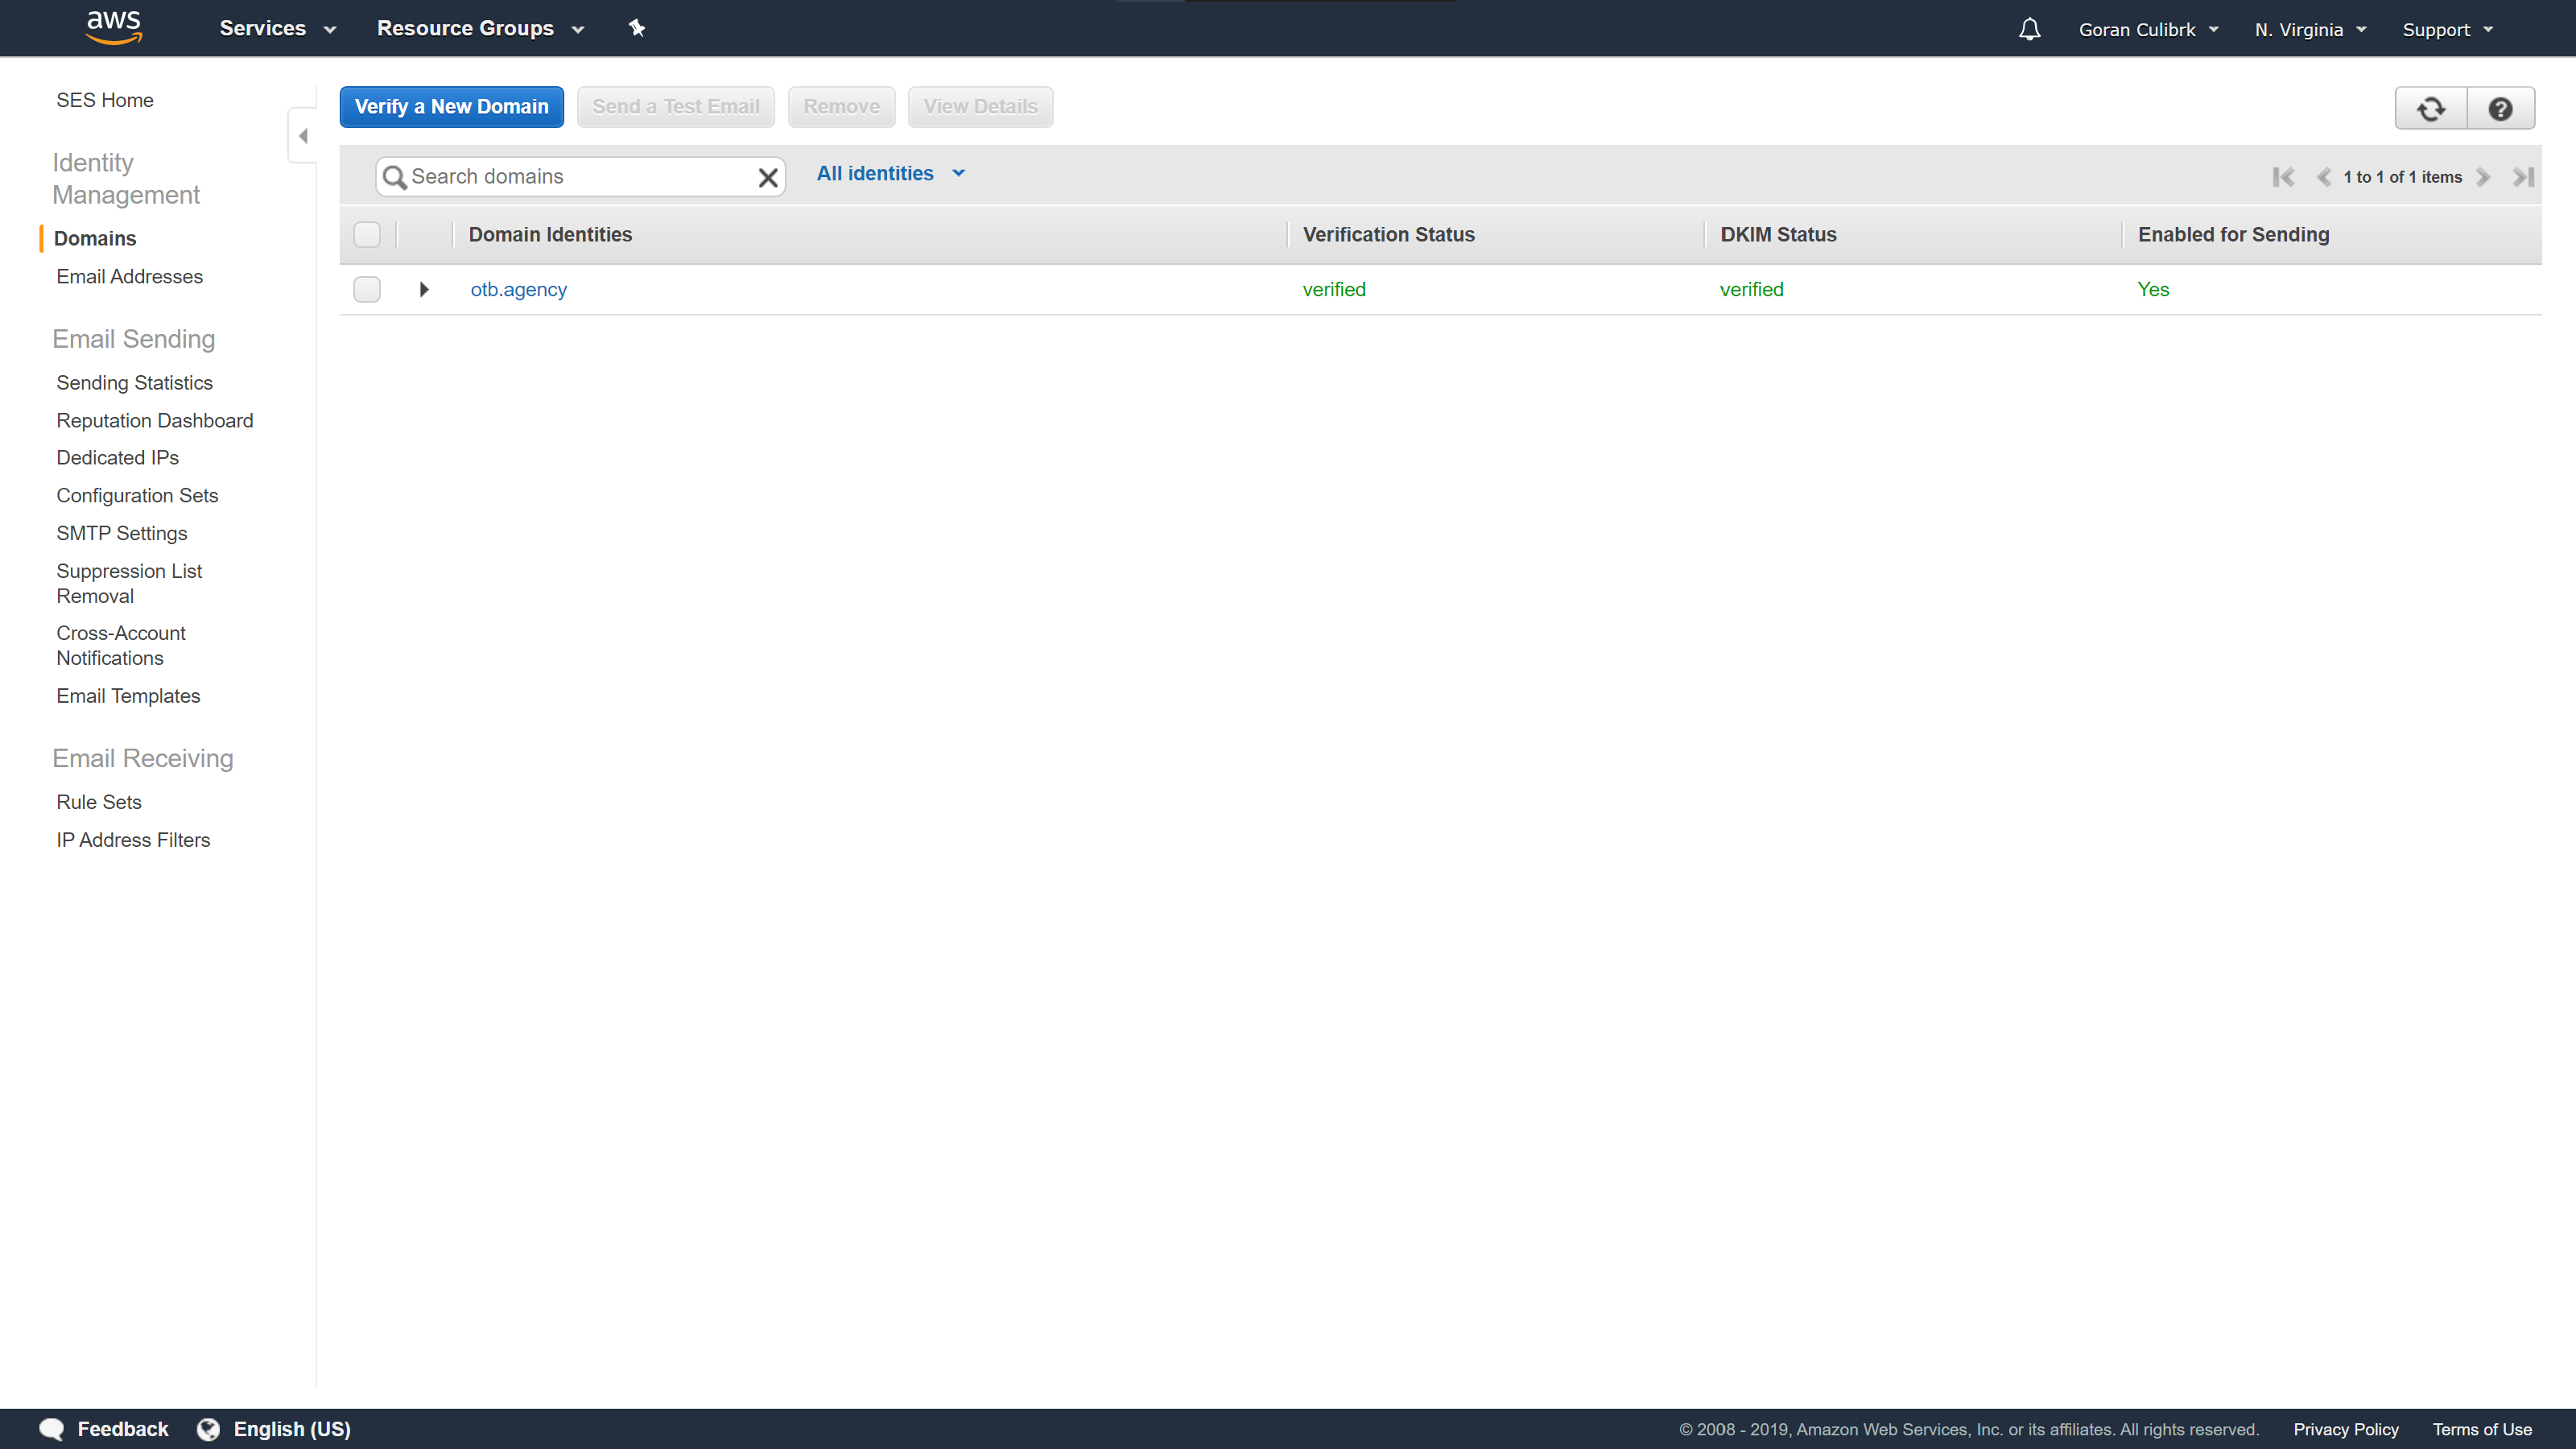
Let’s dive in. Step 1 is going to the Domains page and clicking Verify a New Domain button.
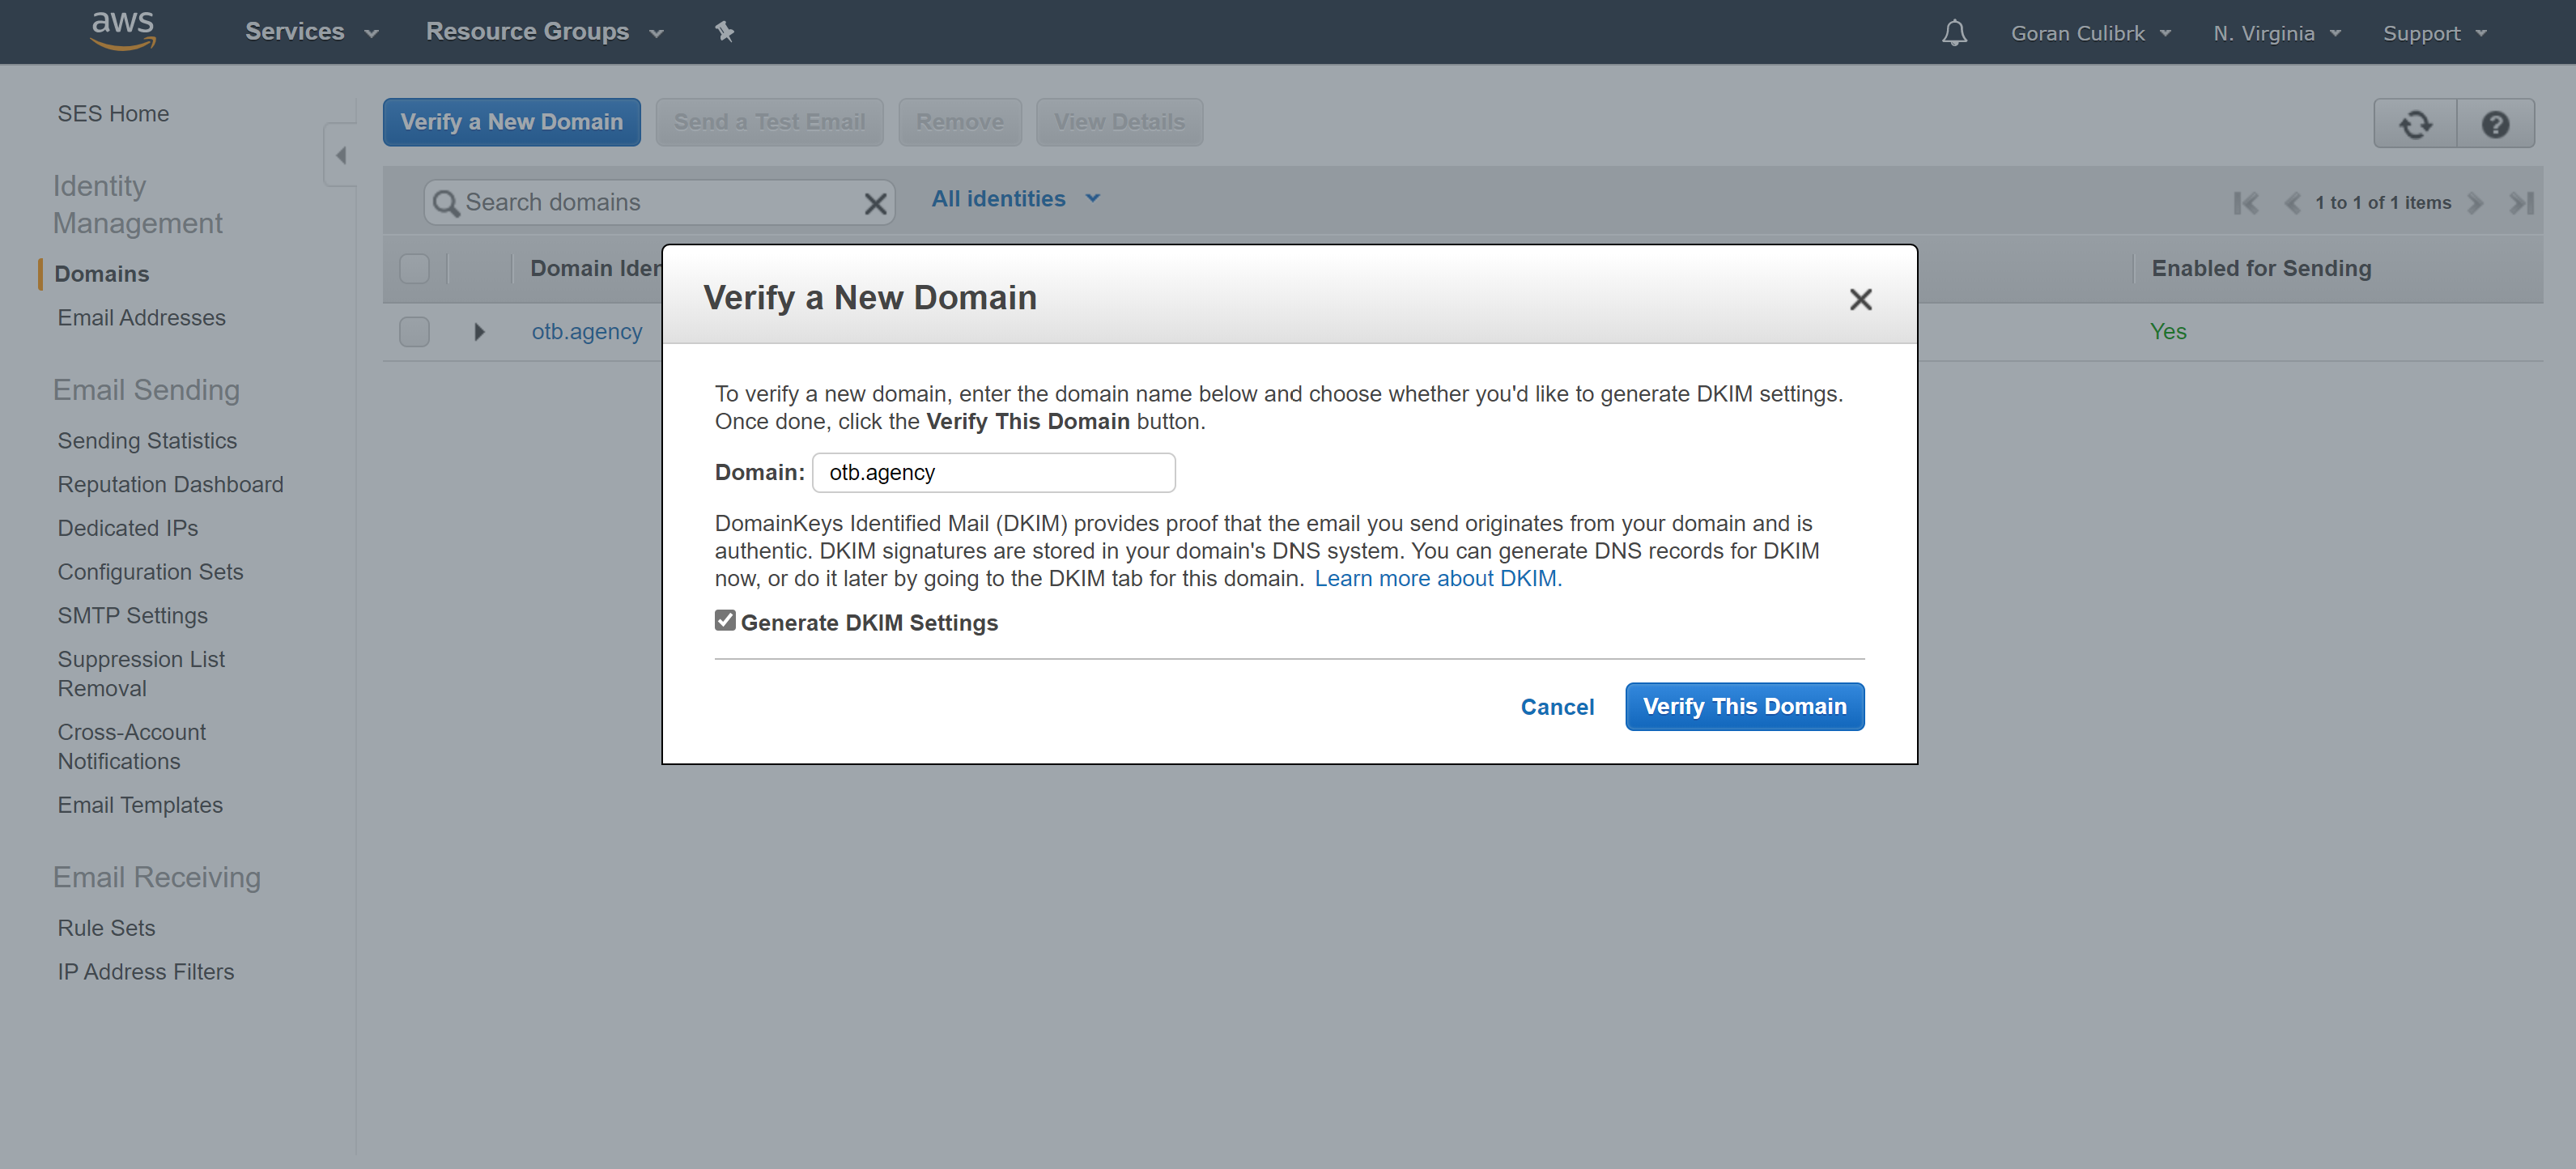
Enter your domain name, check Generate DKIM Settings that will ensure that emails you send from Mautic are originating from your domain and that they are authentic so you will avoid hitting the spam.
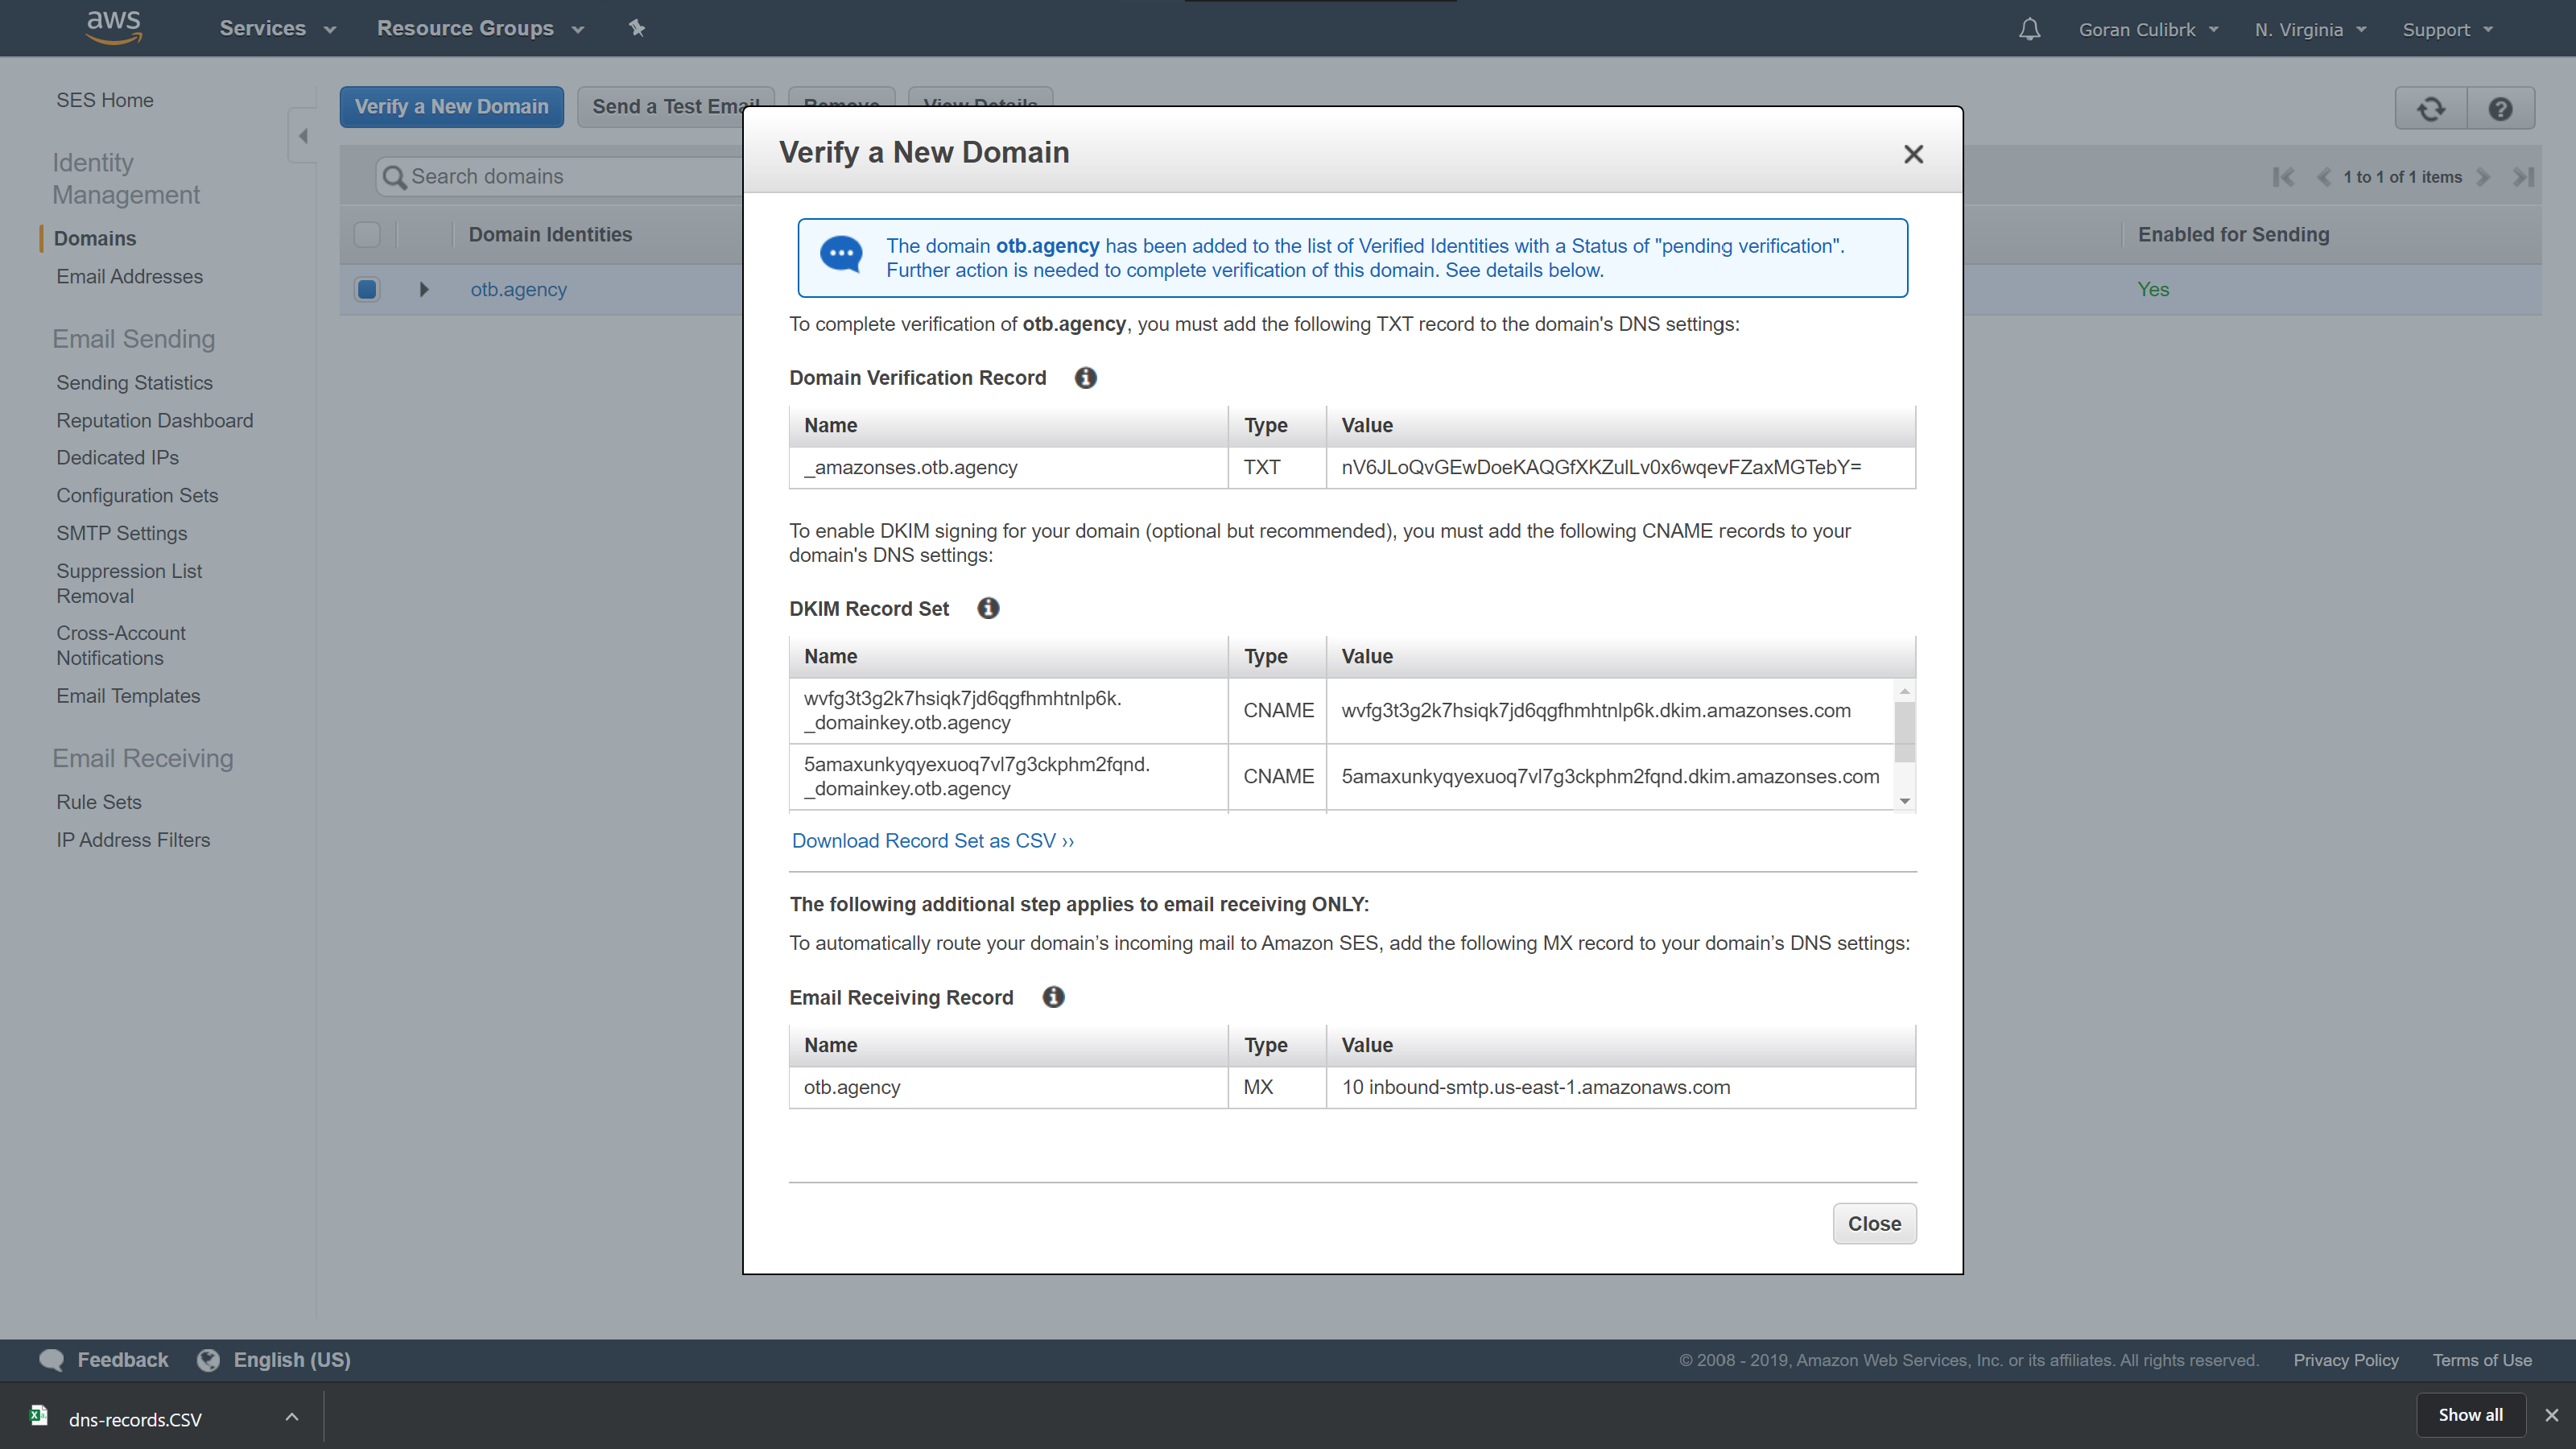
Once you click Verify This Domain you will get a list of DNS records that you need to add in your domain management control panel. These settings will provide Amazon with permissions necessary to send email under your domain. Since we are not using email receiving, you can ignore the last setting which allows Amazon to act as email server and allows it to receive emails in your name. Skip that part.
After you update the DNS records, it will take some time for Amazon to check for them and confirm that they are valid and the domain is verified.
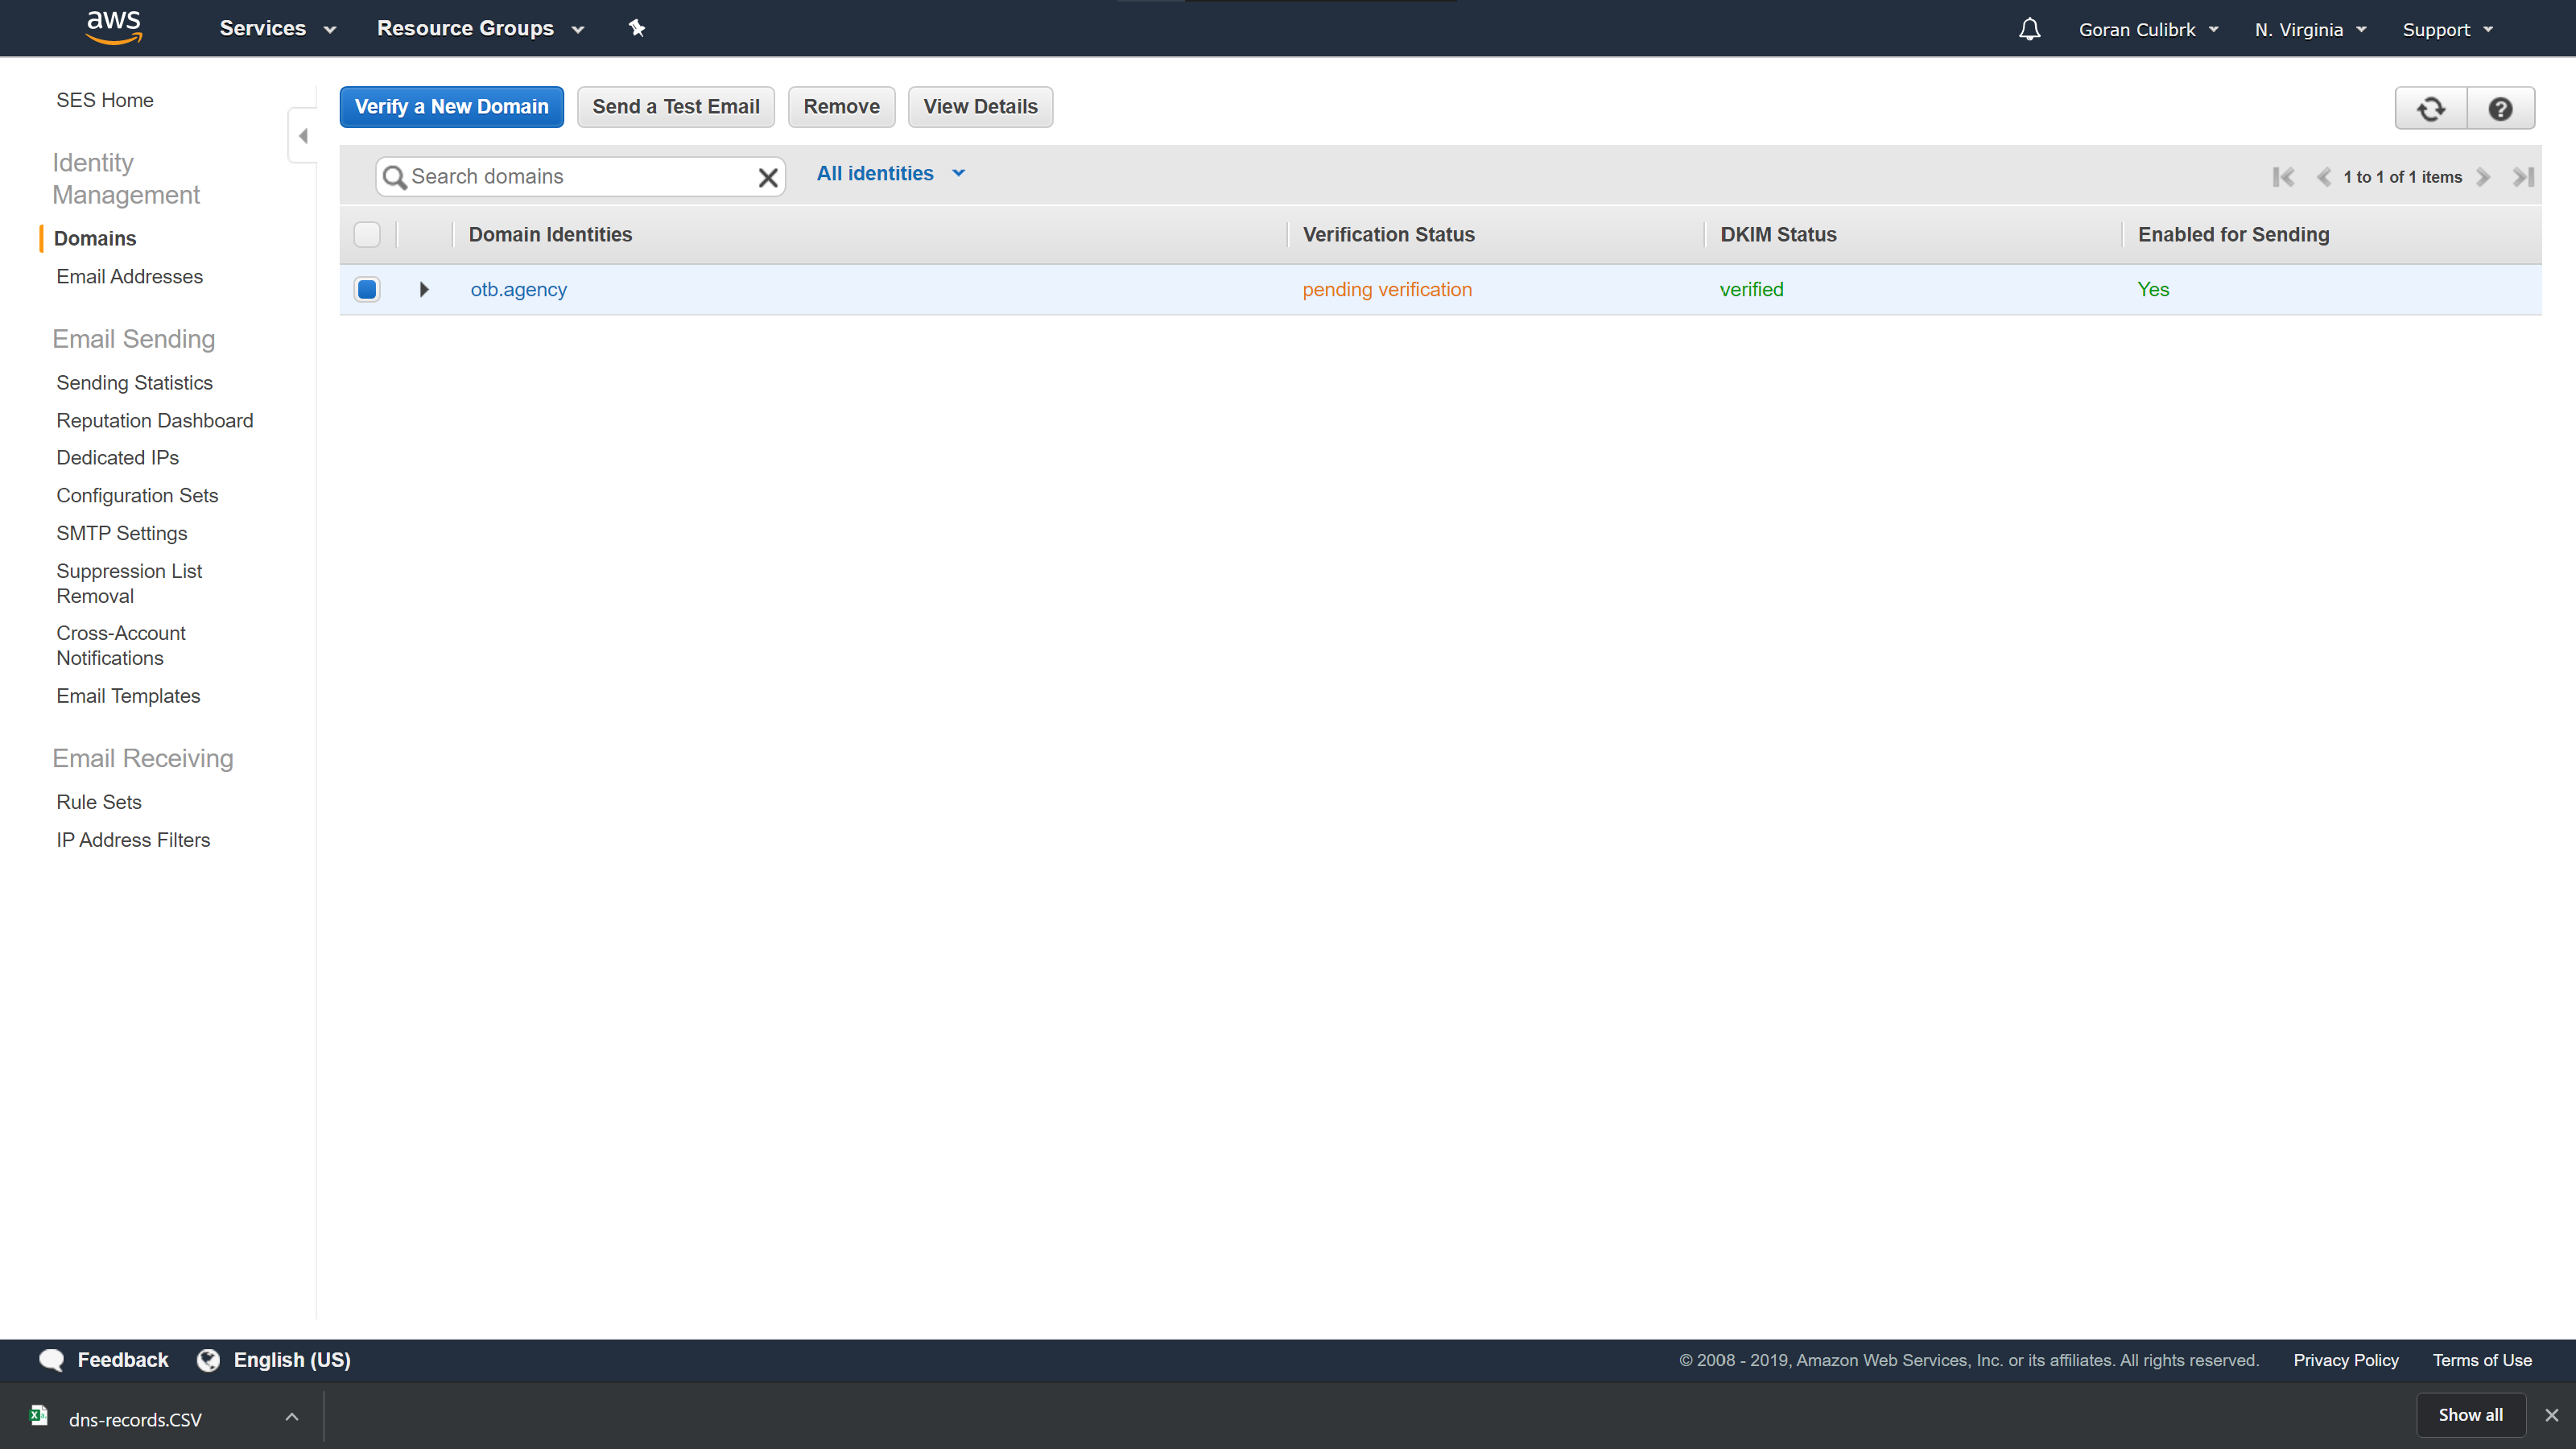
This step is completed once all three columns in the list are Verified like in the picture below.
Now we can proceed to specific email address verification steps which is quite simple and straight forward. Go to the Email addresses page in the sidebar and click Verify a New Email Address button. In the form, enter the email address you want to use to send emails from Mautic and click Verify This Email Address button.
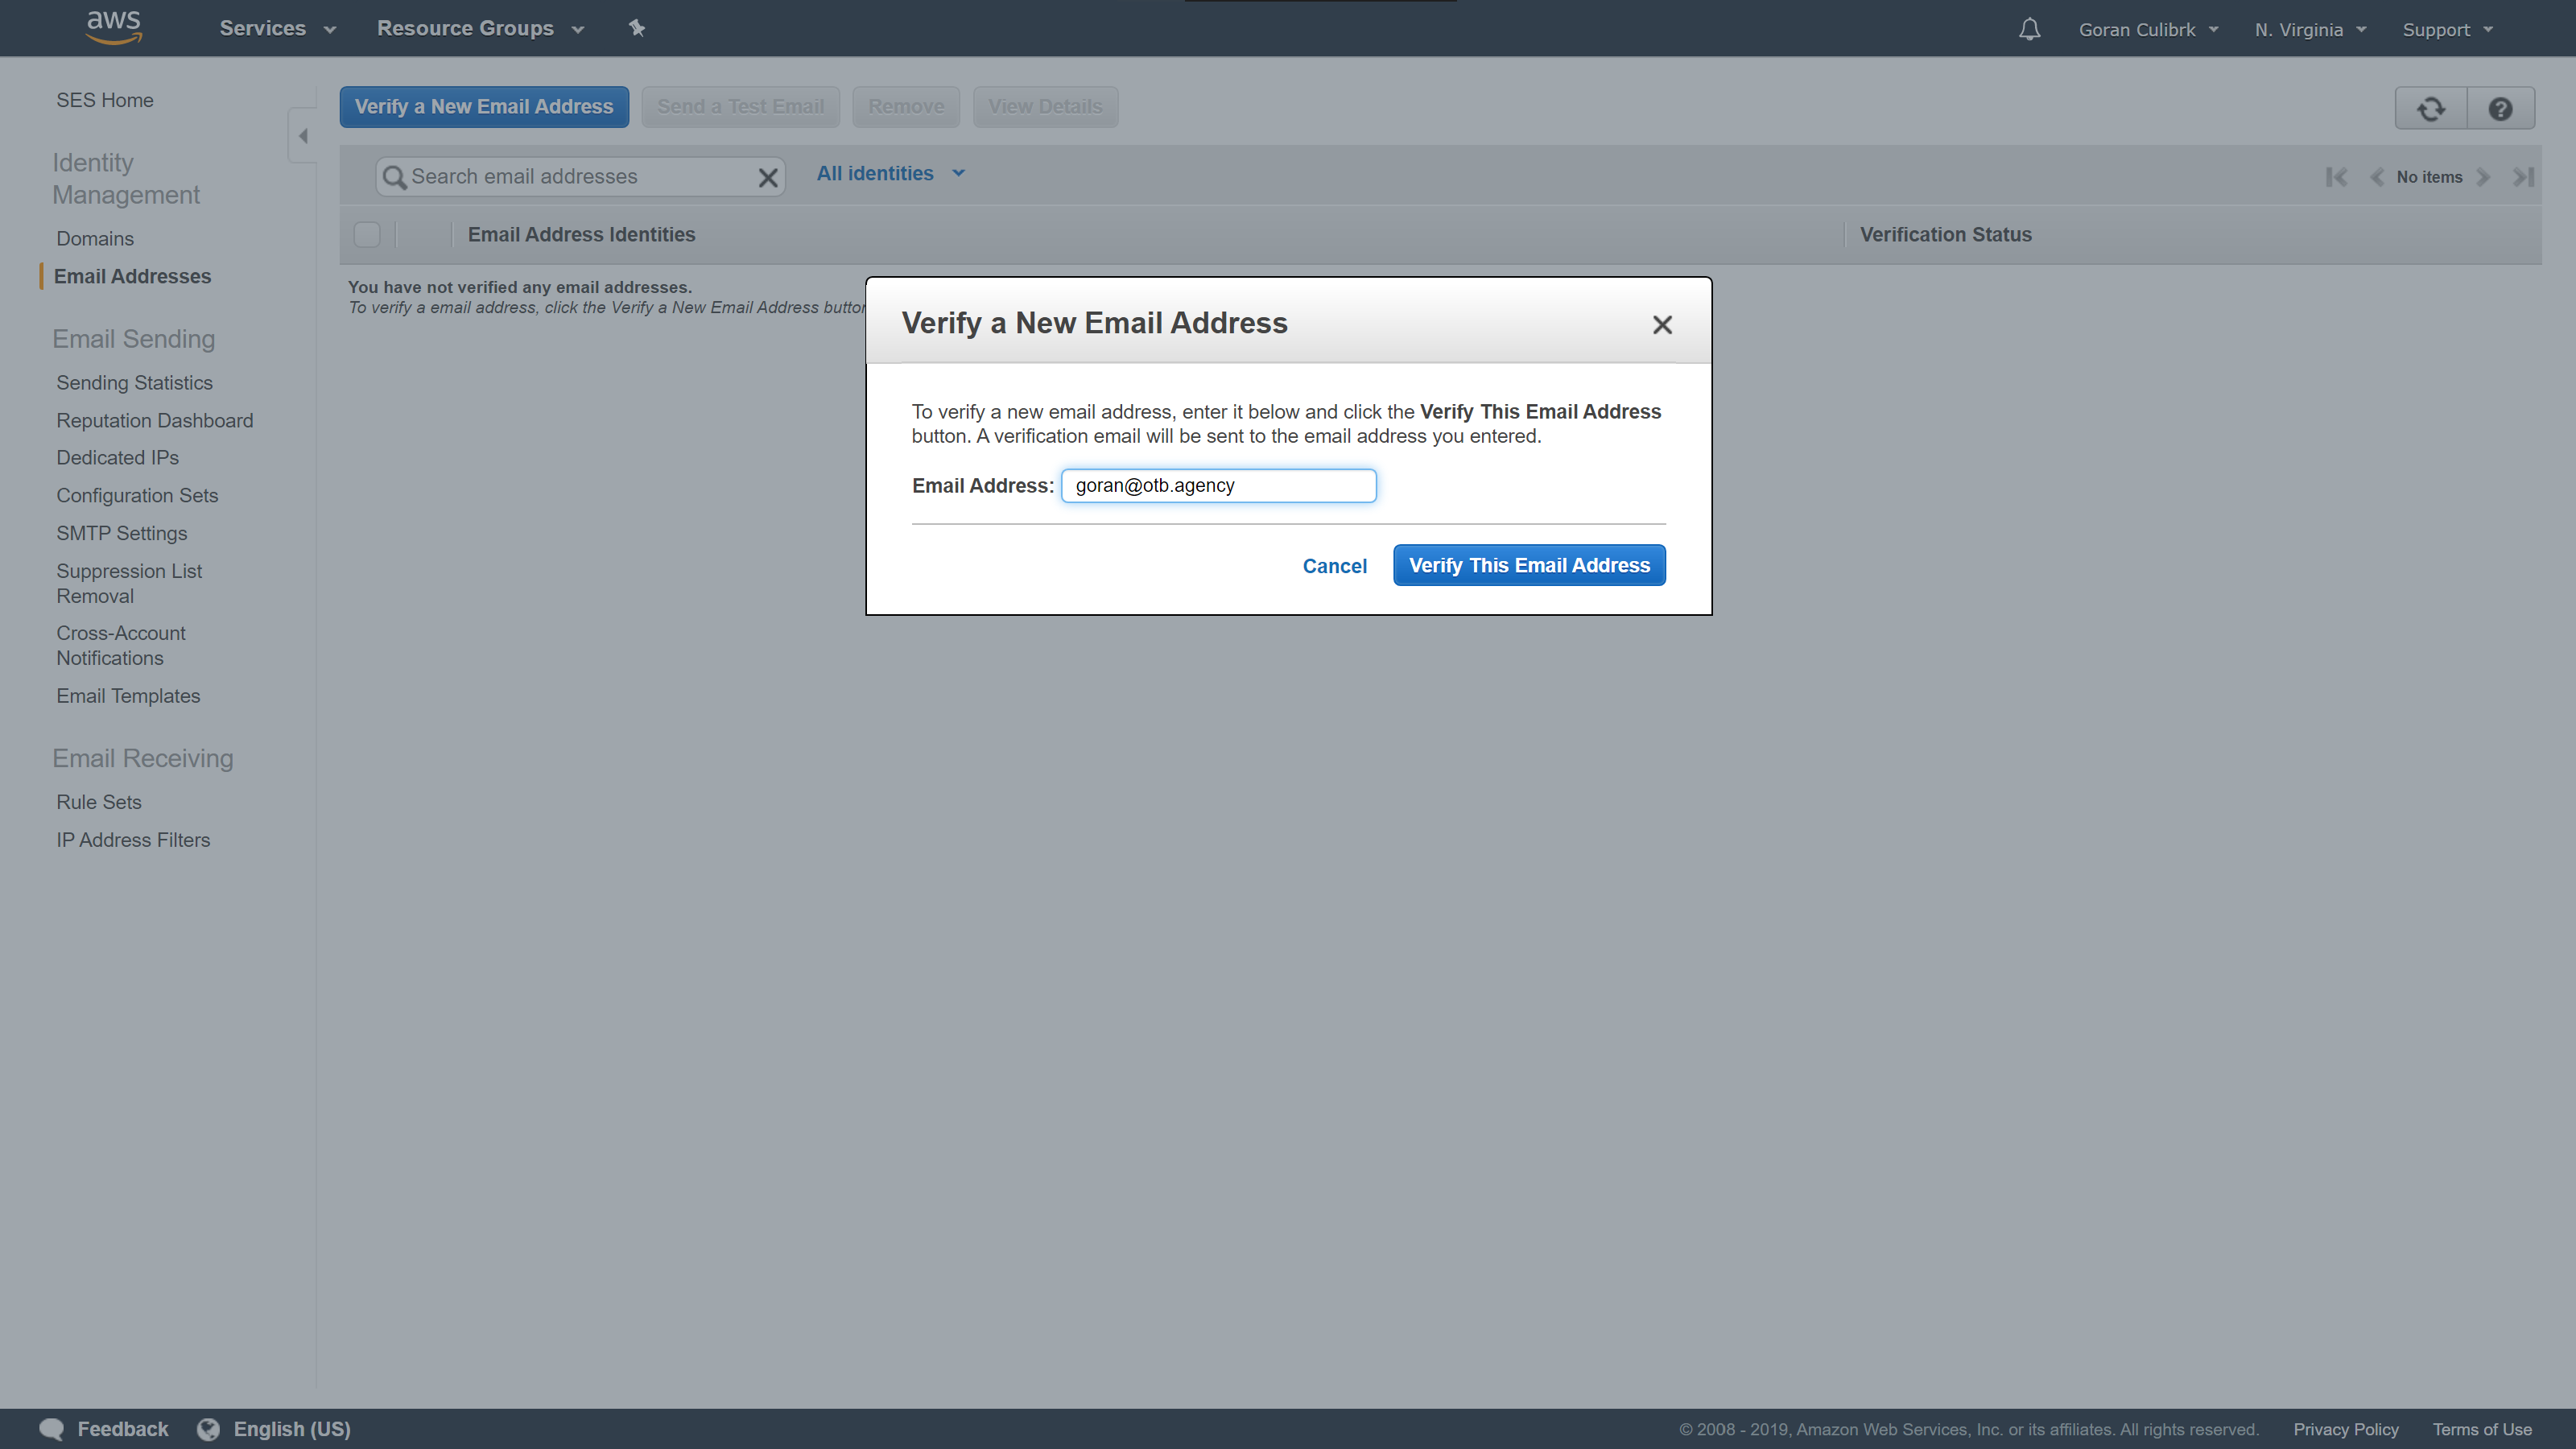
Once you click the button, you will receive an email from Amazon to the added address with confirmation link. Once you confirm it, return to the AWS dashboard and refresh the page. You should have Verification status changed from Pending verification to Verified.
If you have, congratulations, you have allowed Amazon to send emails in your behalf, providing you with the cheap and fast solution for mass sending of your emails.
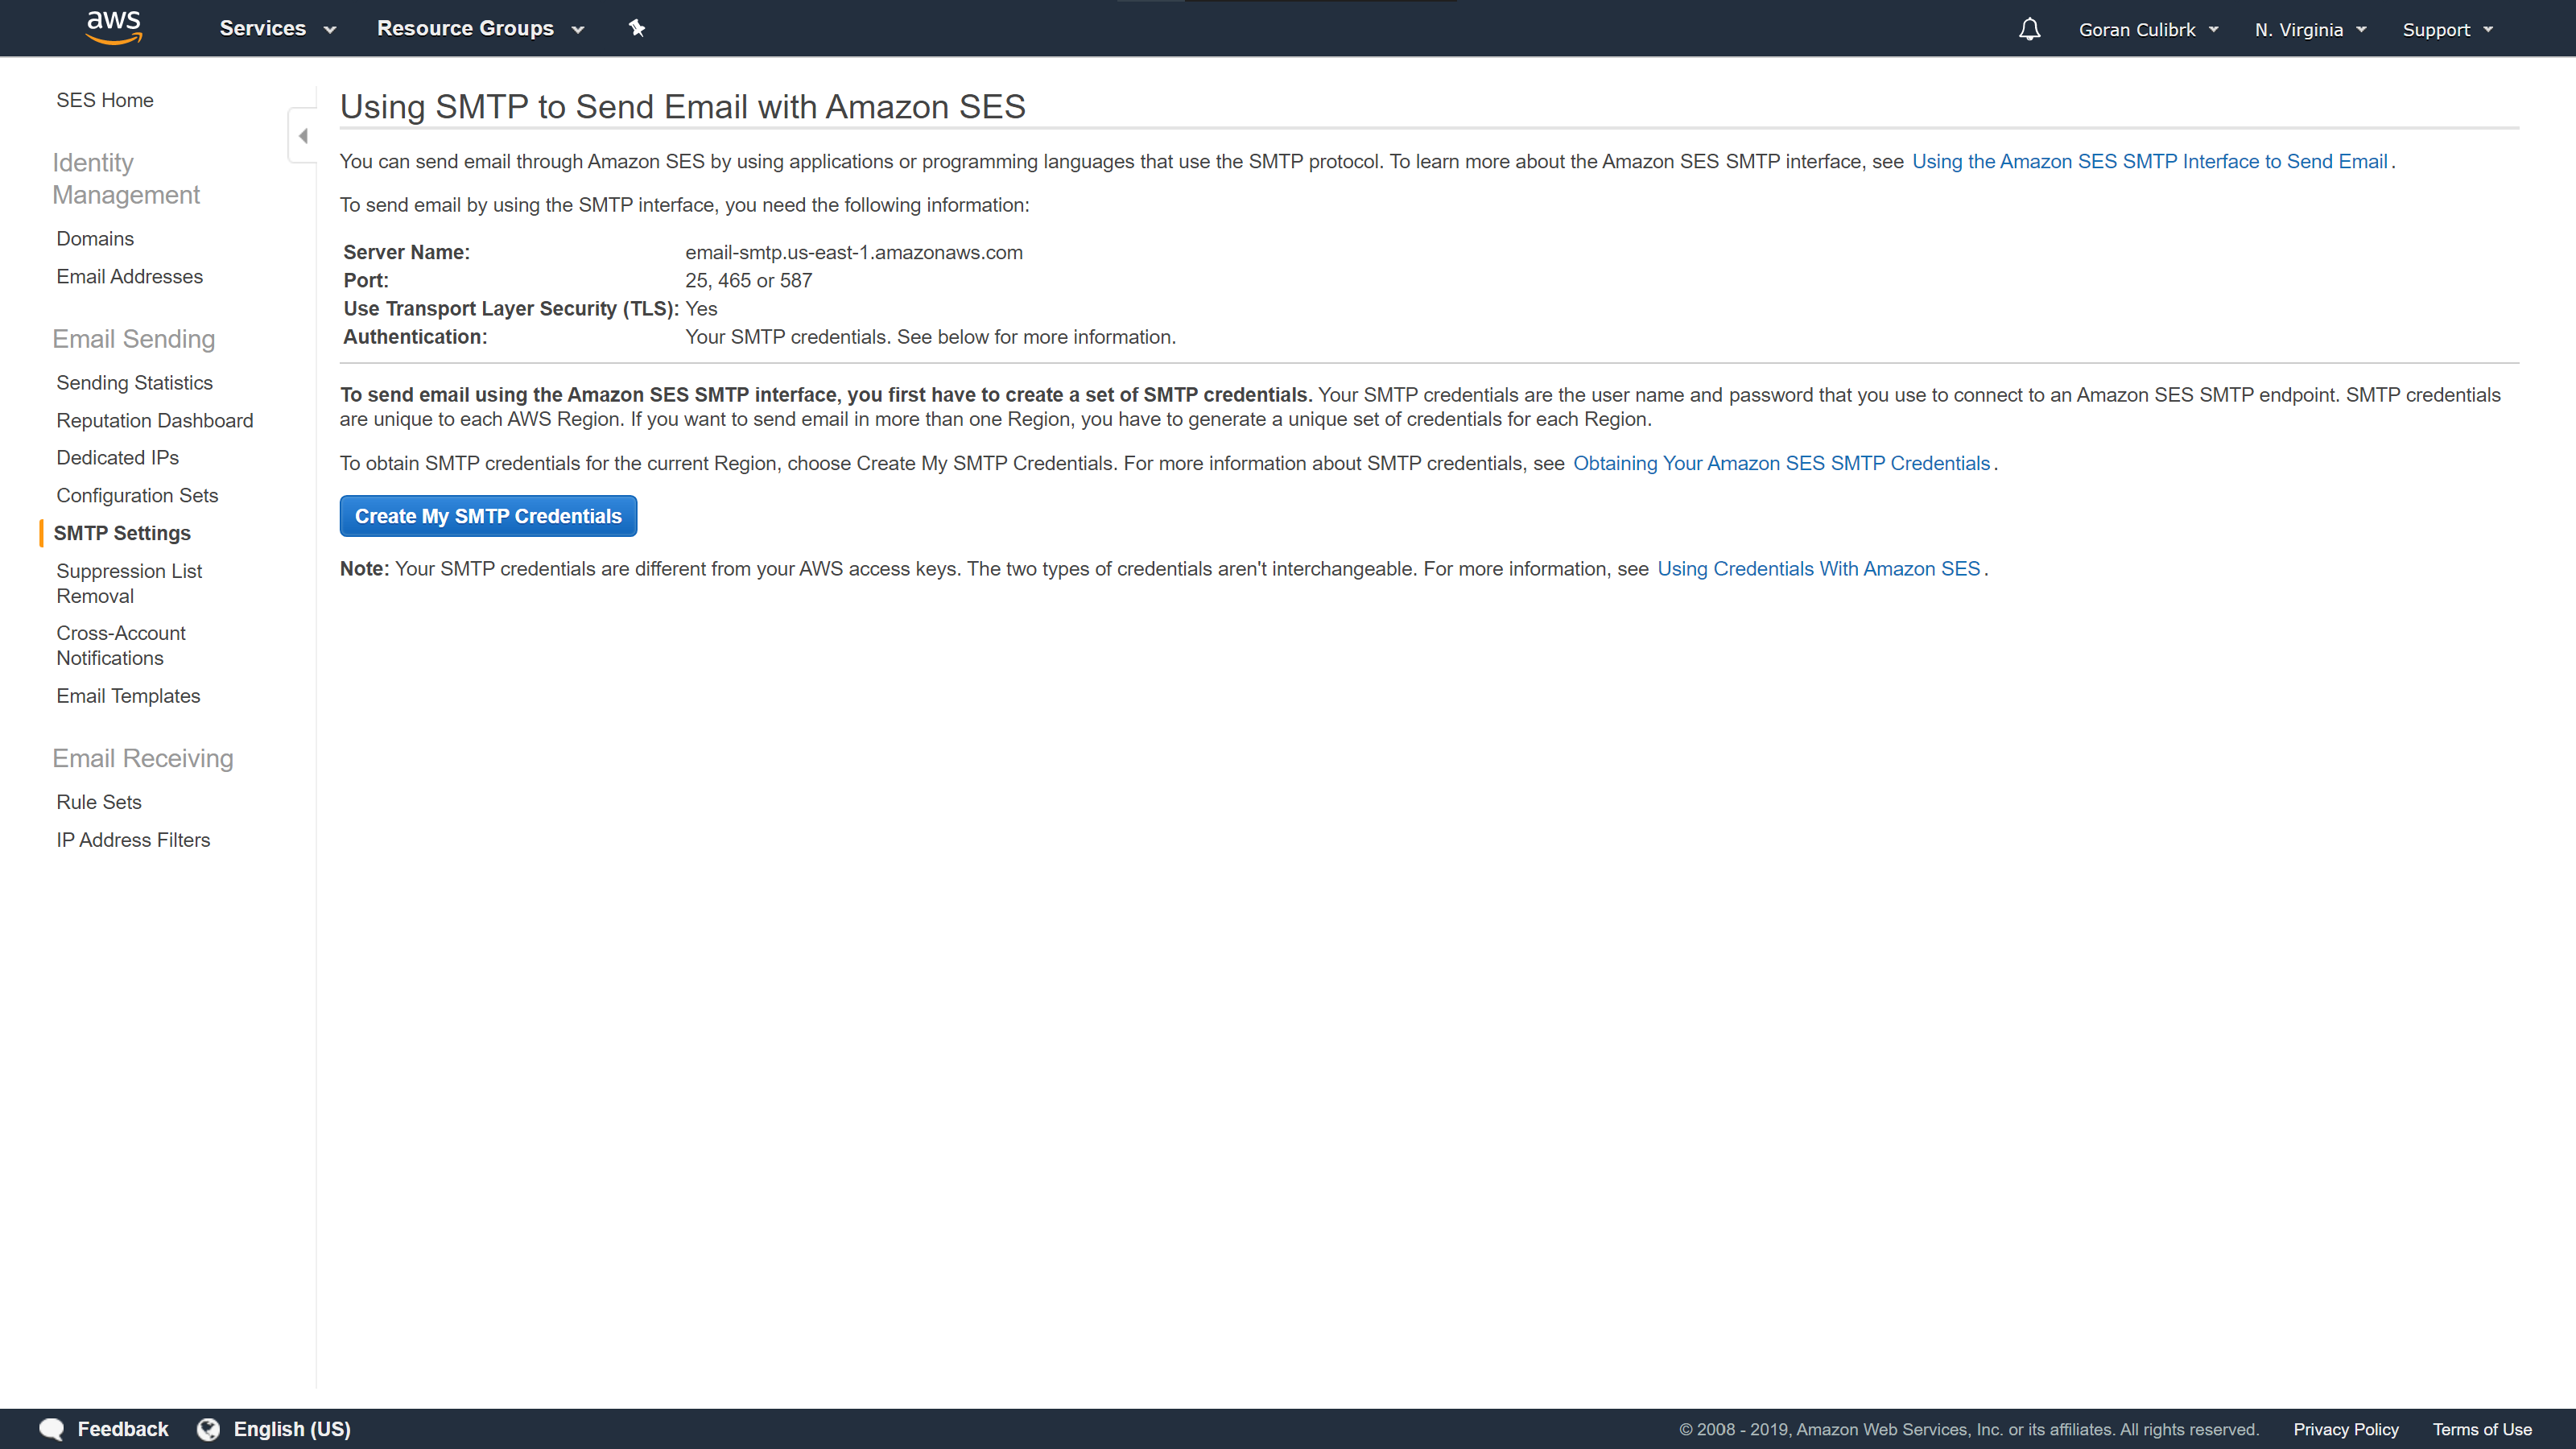
Our next steps is to generate credentials that will allow Mautic to communicate with Amazon and send emails. To do that, you need to create SMTP credentials in Amazon. Go to the SMTP Settings in the sidebar. Remember or copy somewhere Server Name and Port and click Create my SMTP Credentials button.
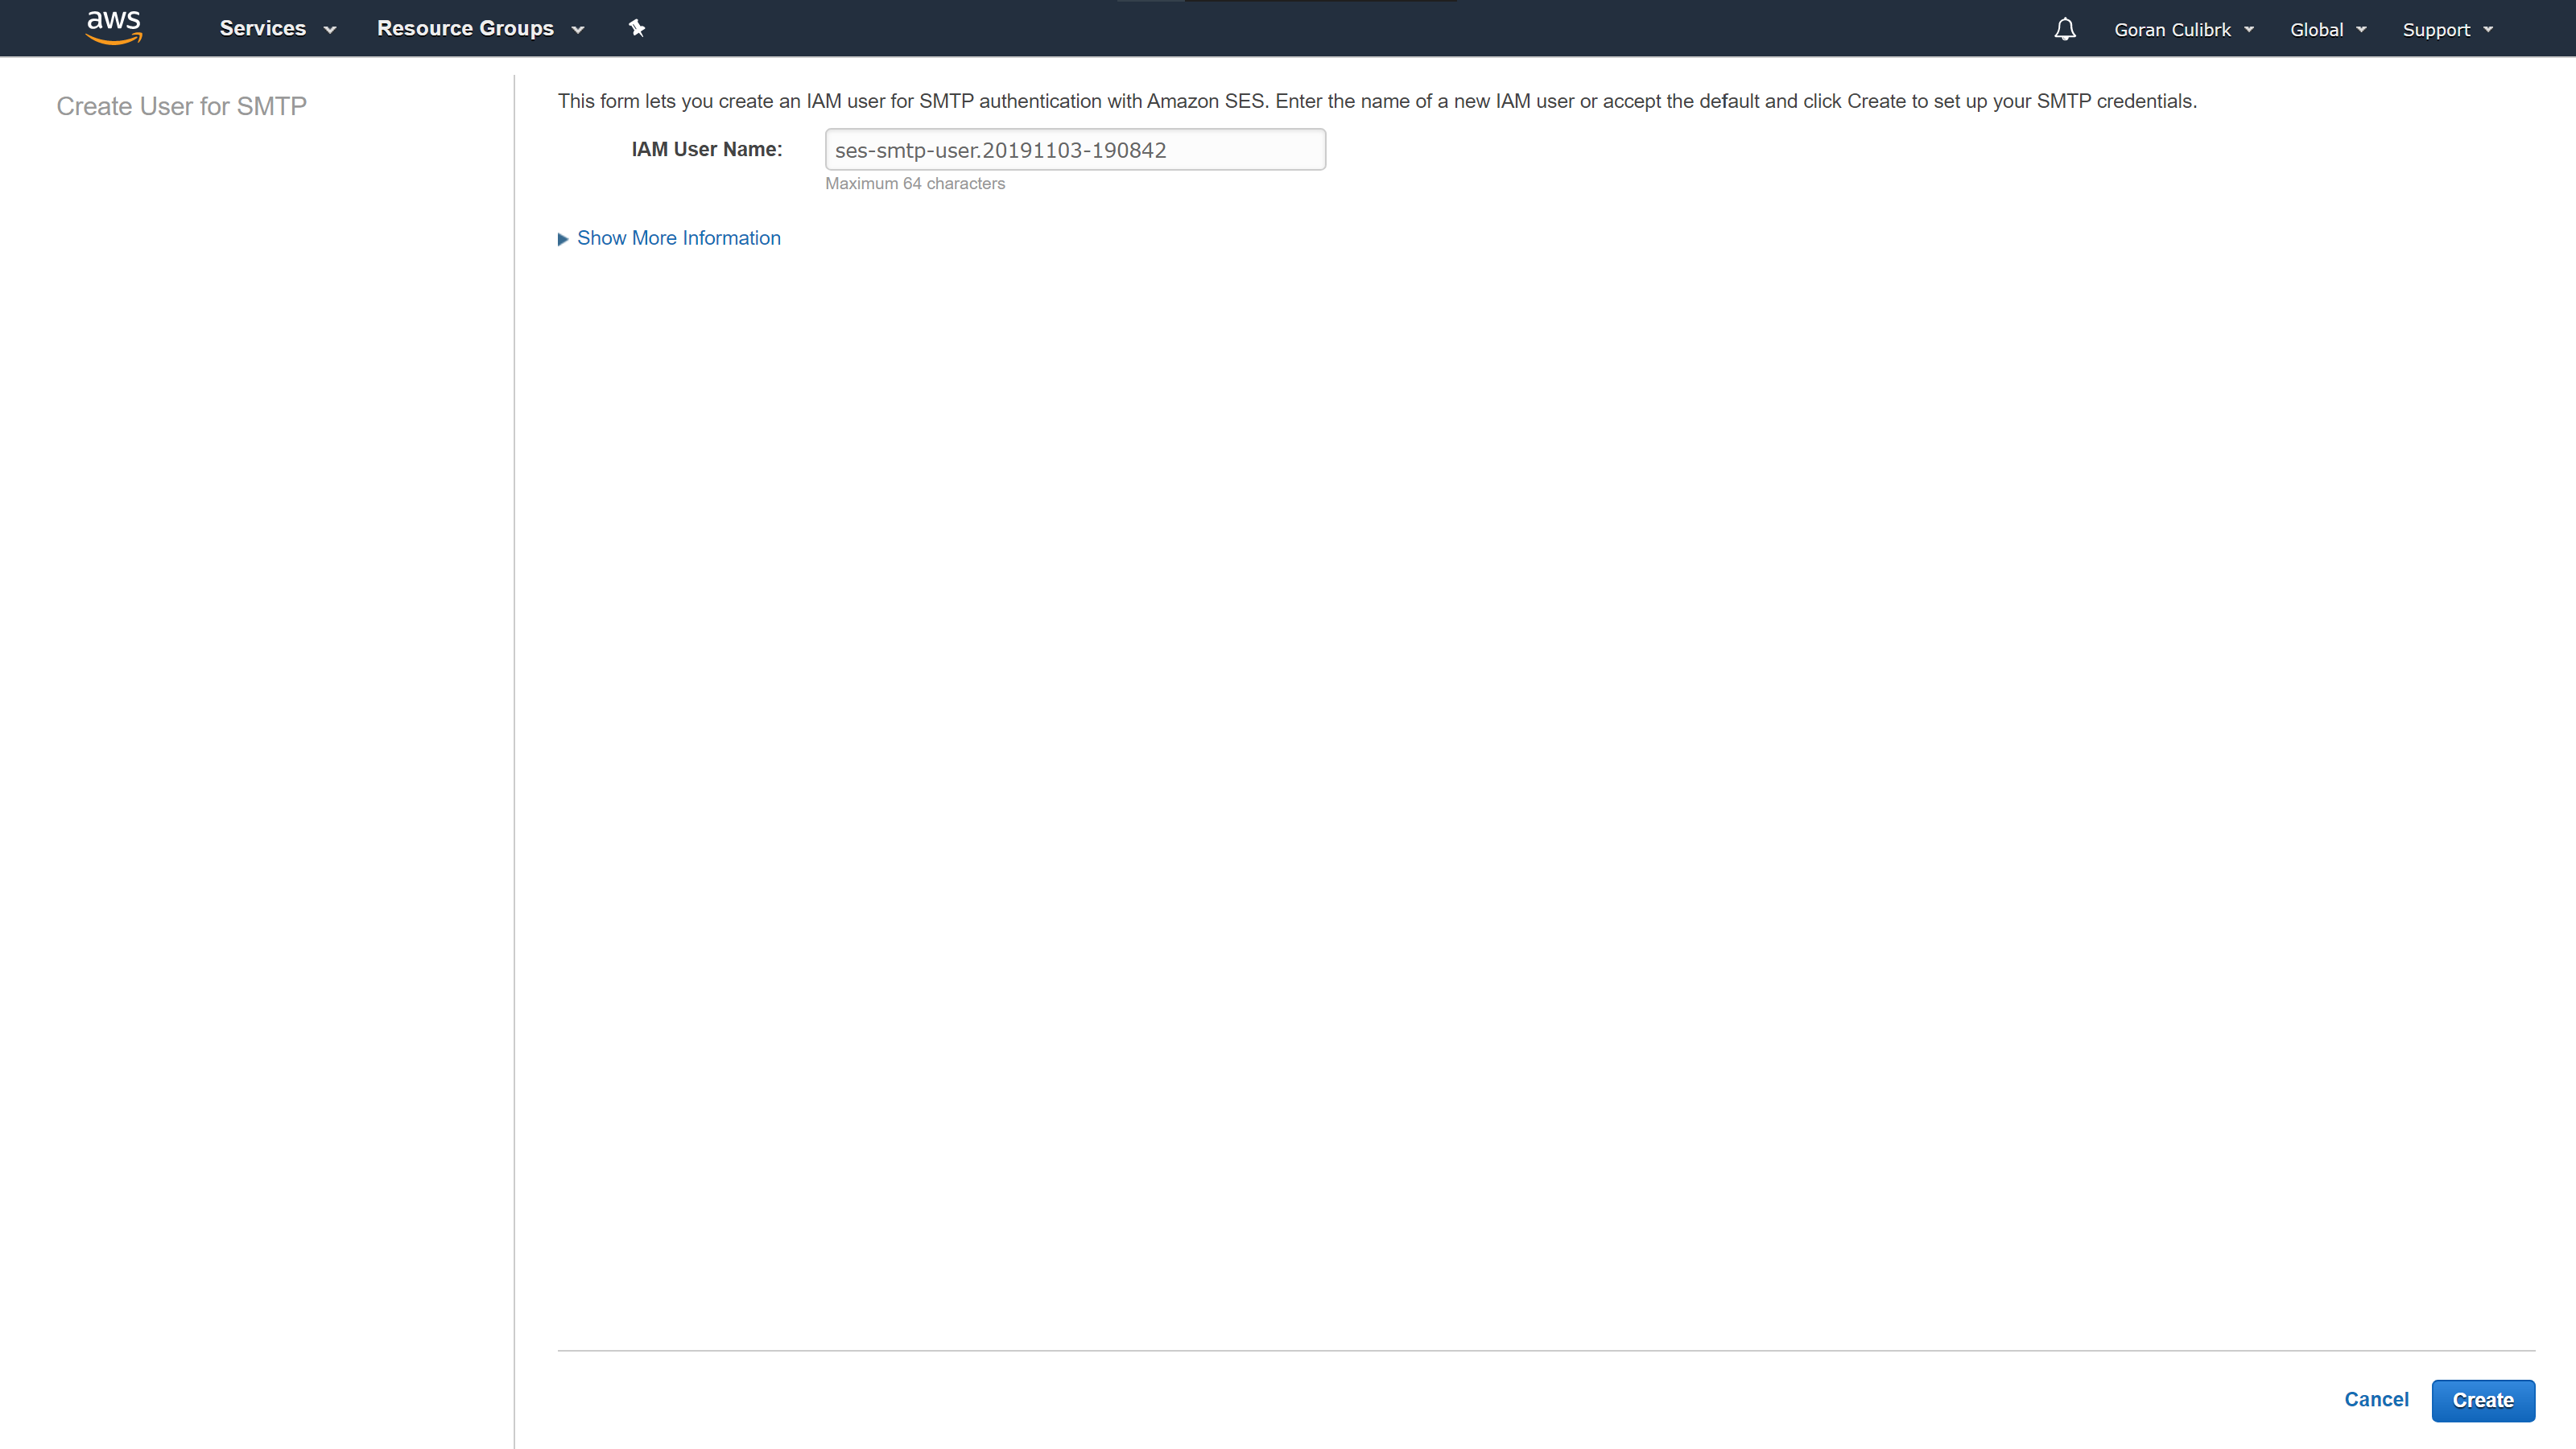
For the IAM username, you can use whatever you want, or leave the default one, but for later organization, it would be good to make it a bit more understandable. Once you are done, click Create.
After that you will be provided with your SMTP username and password. You can see them immediately by clicking Show User SMTP Security Credentials but keep in mind that you will only be able to see them from dashboard on that screen you once you close the window, you will lose the option to check for password. In order to keep it in case you need it again, I recommend that you download them and store somewhere secure.
With that step completed, we are ready to close Amazon dashboard and go back to our Mautic installation and open up Configuration page.
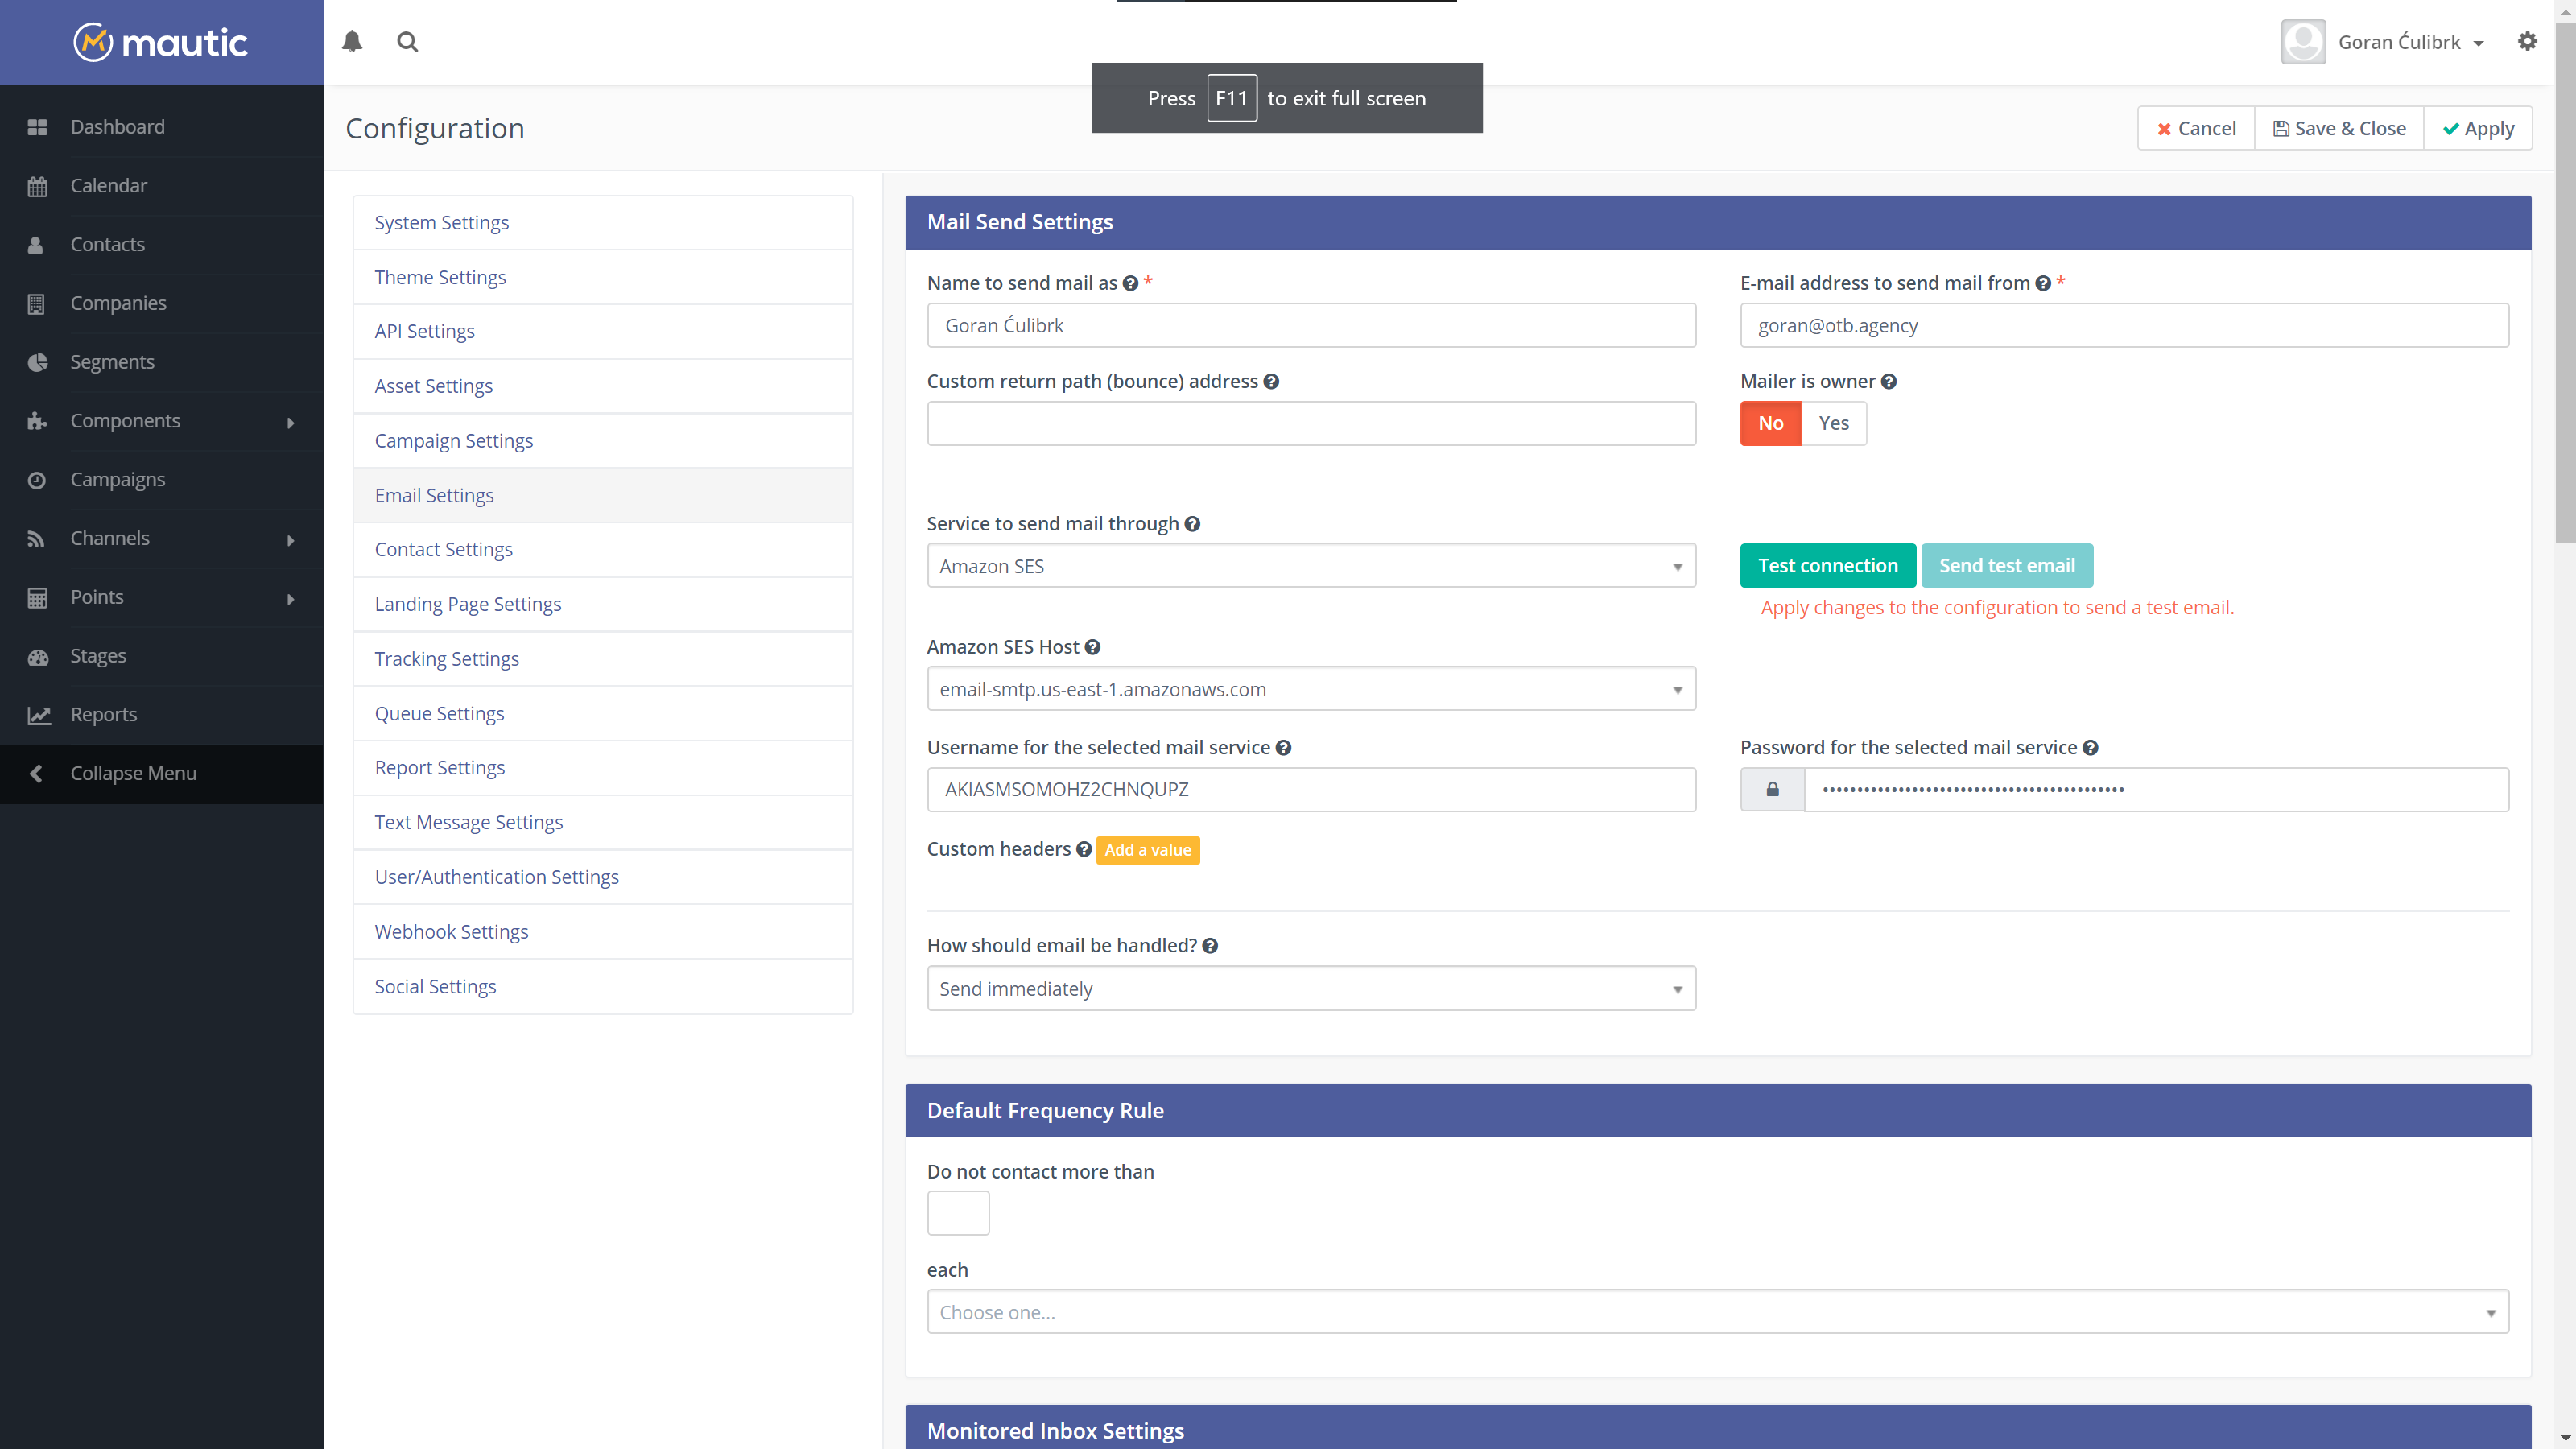
Open up Email Settings tab in the sidebar. Under Service to send mail through select Amazon SES.
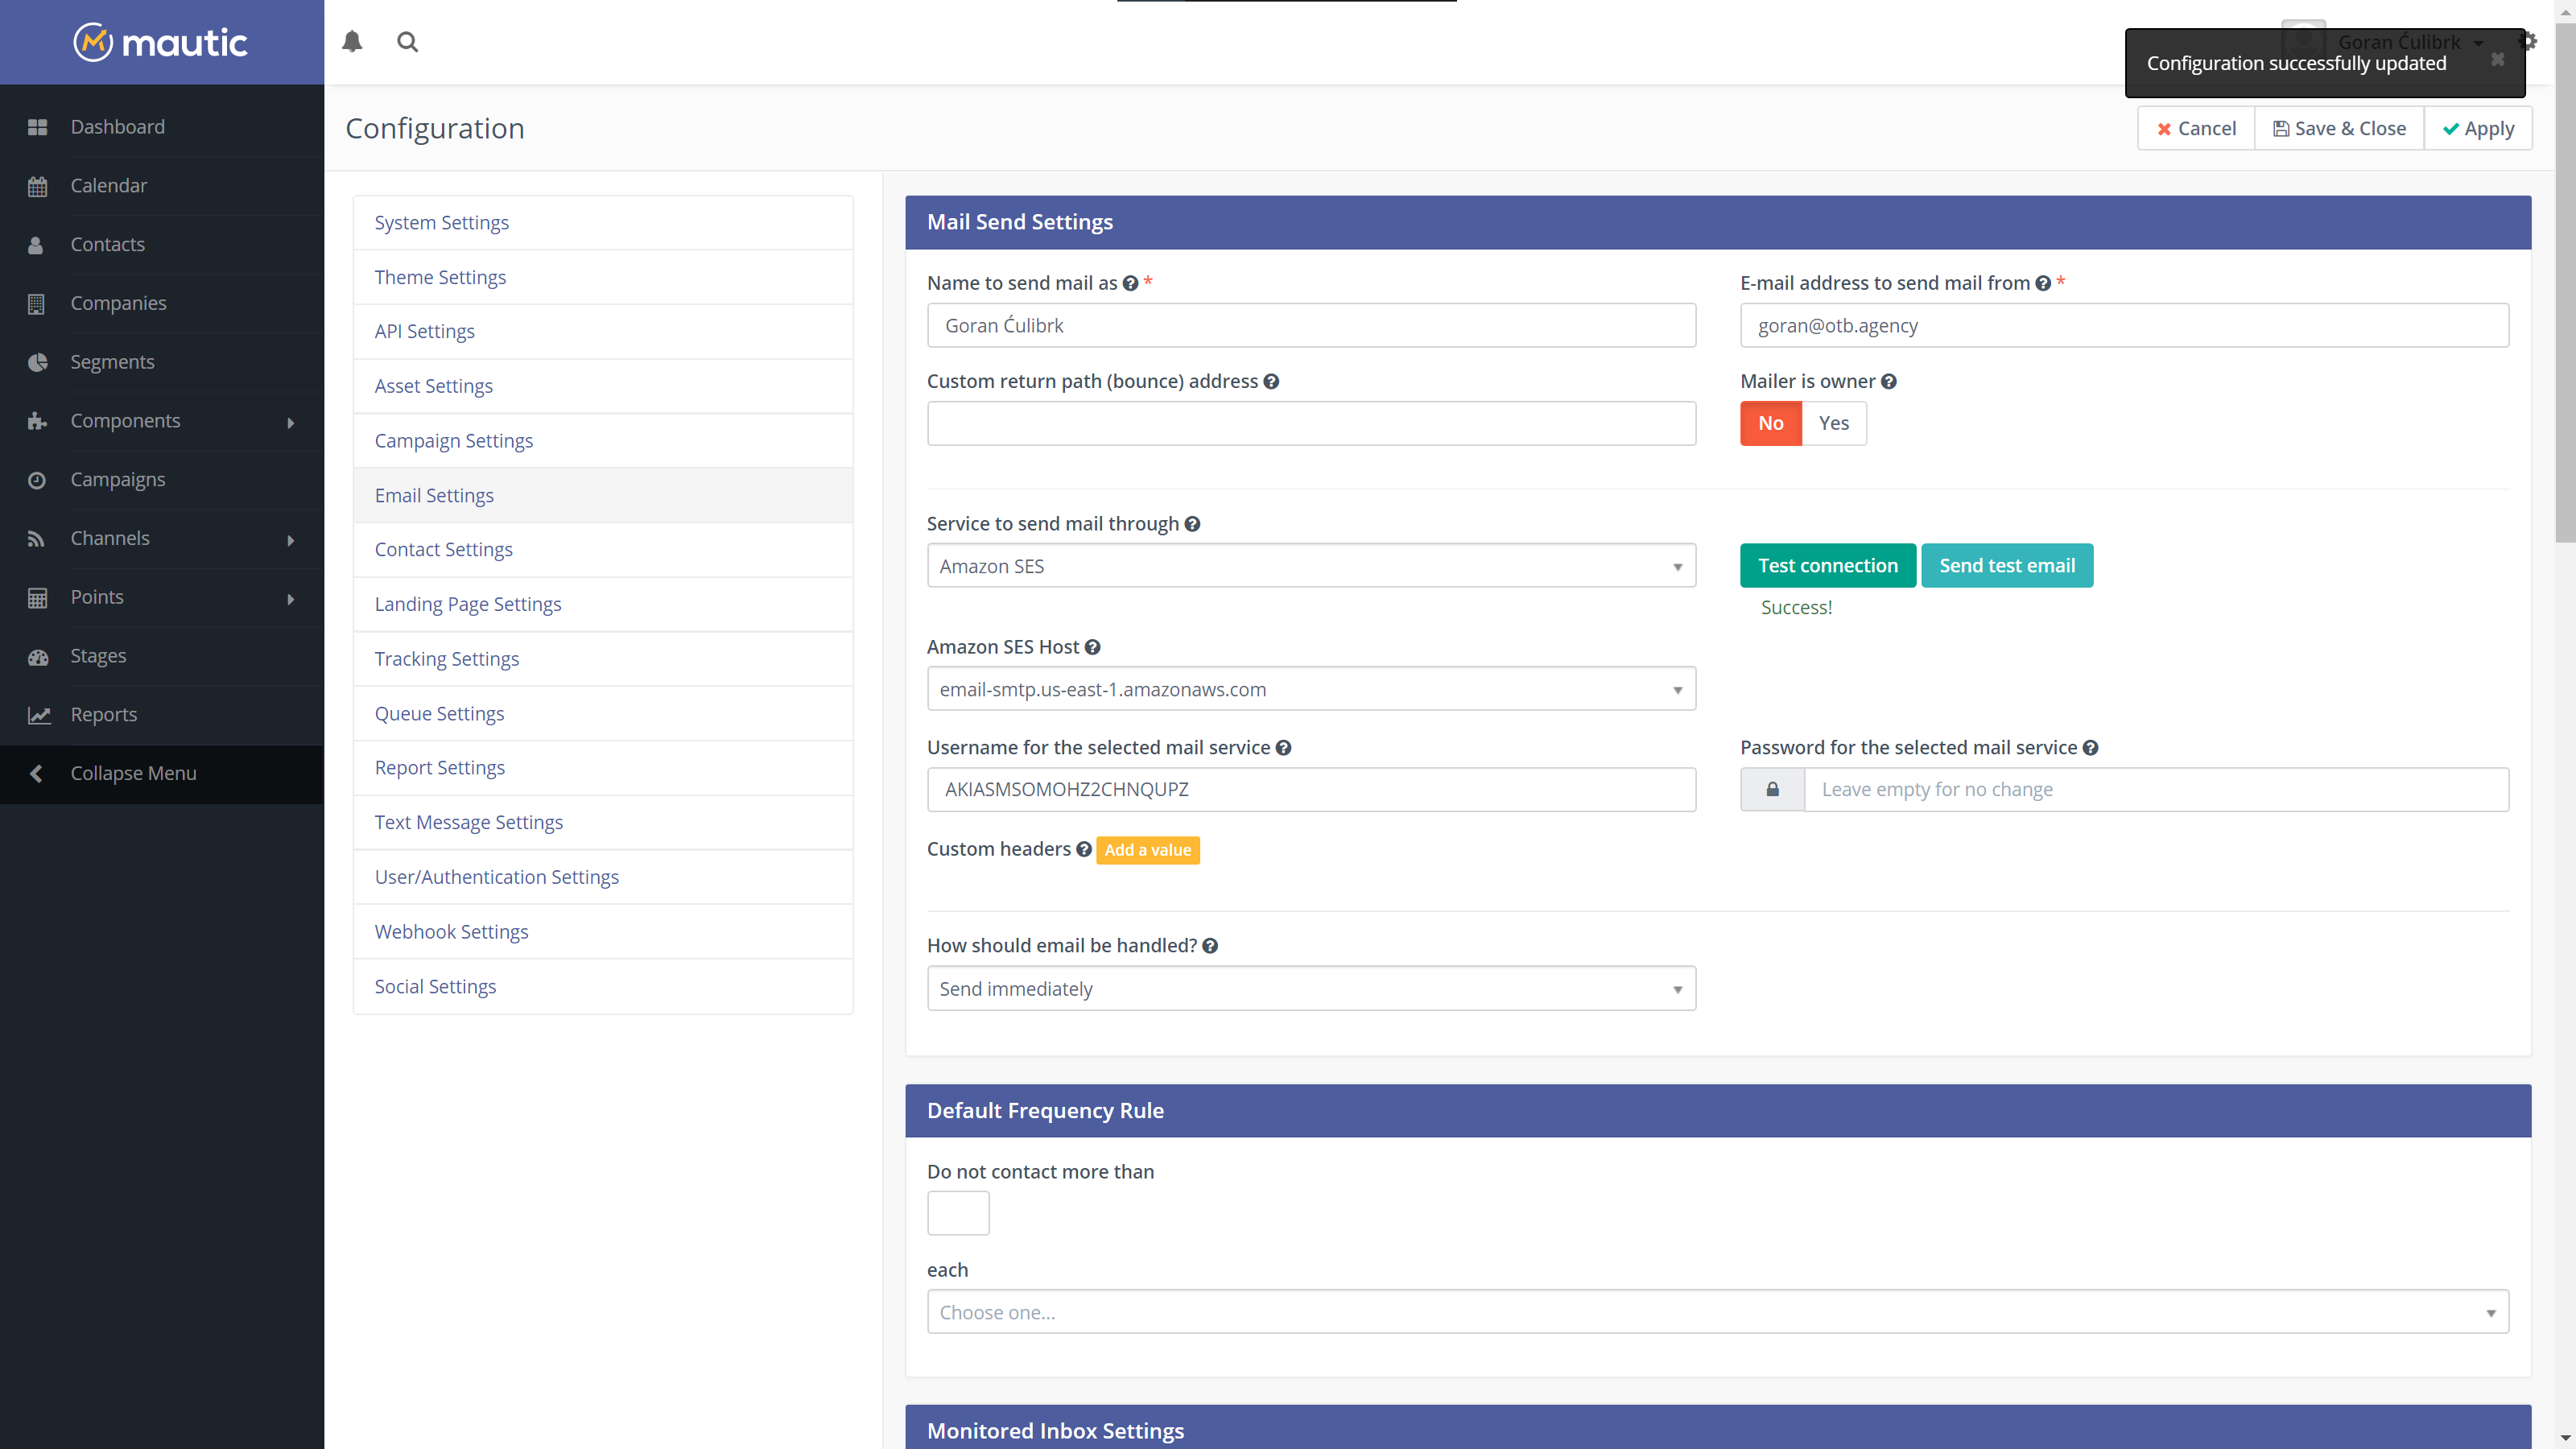
Amazon SES Host represents region (Server name) that you copied when you were creating SMTP credentials. For Username and Password use credentials that you created and finally click Apply button to save the changes. After that click Test connection to verify that everything is working correctly.
In order to confirm the configuration, you can click Send test email button. This will send test message to your email address. If you receive it your Mautic + Amazon SES configuration is completed and you can start sending emails from your instance.
But before you start doing that, keep in mind that Amazon don’t like high bounce rates so we will have to configure our Mautic to handle them and remove those contacts from future emails. For that I’ll see you in part 4 of our Mautic installation series.
Leave a Reply to Goran Cancel reply