
Learn how to integrate Mautic 5 and Amazon SES to send emails at scale.
After almost two years, the team at Mautic has released one of the biggest updates to the marketing automation platform to date. With support for PHP 8.1 and migrating to the Symfony 5 framework, many things need updating as well. One of the things that we will touch on in this article today is changing the configuration to configure Mautic 5 and Amazon SES for fast and scalable email sending.
Mautic 5 and Amazon SES configuration
From now on, instead of configuring emails in the old form where you are entering your SES credentials, Mautic now uses Symfony’s DSN (Data Source Name) format and their Mailer package.
Before configuring the settings, we need to install symfony/amazon-mailer package that will allow us to communicate with Amazon SES API.
Go to your terminal and connect to your Mautic server. Next, navigate to your Mautic installation and run this command:
composer require symfony/amazon-mailerThis package will allow us to set up the DSN in configuration to ses+api scheme needed for sending emails.
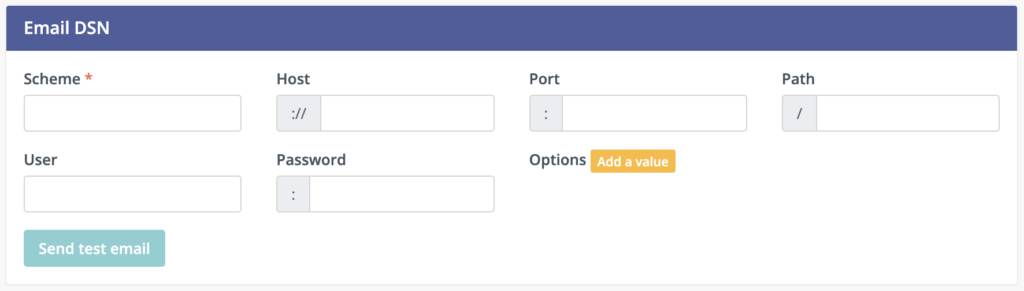
After that, we can go back to Mautic configuration and configure Email DSN as follows:
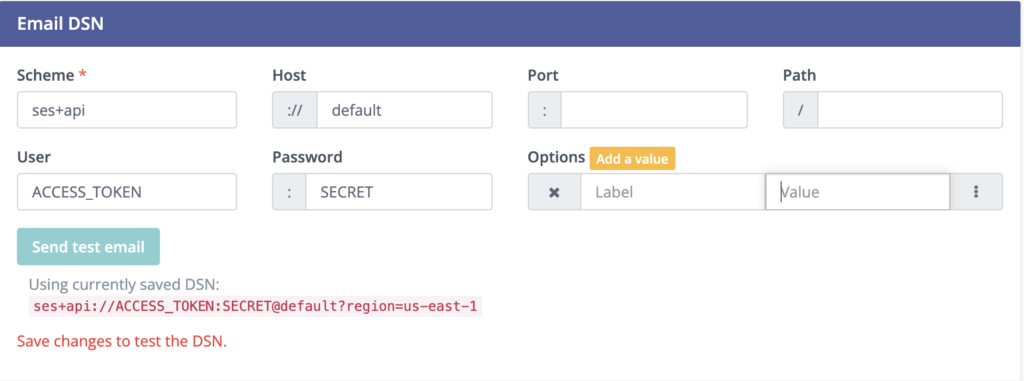
- Scheme: ses+api
- Host: default
- Port: leave blank
- Path: leave blank
- User: ACCESS_TOKEN (from your SES credentials)
- Password: SECRET (from your SES credentials)
- Options: click Add a value
- Label: region
- Value: us-east-1 (the SES region you are using)
In the end, you will have the form looking like this
Mautic will send the emails via SES using immediate delivery as it’s the default way of sending messages. If you plan on sending a higher volume of emails, it’s better to use the queuing mechanisms that are designed to handle those workloads.
Our personal favorite is using Redis as queueing mechanism. This feature was long awaited in Mautic and starting with version 5 that relies on Symfony 5 framework, we can finally use wide variety of queues, including Redis and even Amazon SQS.
Redis configuration
If you haven’t already, you can read an in-depth article about how to configure Mautic and Redis.
Now, we will assume you already have a Redis server, either as a service on your server or as a separate instance. The configuration is easy. Once again, we are going to use DSN to configure the Email and SMS queue.
Install the symfony/redis-messenger package.
composer require symfony/redis-messengerThen, in Mautic configuration, go to the Queue Settings and look for the first form, Queue for email (SMS and push messages).
Here you have to define at least three settings in case you are using the default Redis installation:
- Scheme: redis
- Host: 127.0.0.1 (or the IP address of your Redis instance)
- Port: 6379
Hit save and close and you are good to go.
UPDATE
From now on, Mautic is utilizing the workers from Symfony, meaning that you don’t have to set up a cron job to send emails. In fact, you might end up overloading the server since every minute you will spawn a new service for picking up emails from the queue and processing them. So instead of creating new cron, ignore this and set up a daemon on your server.
Lastly, you need to update your cronjobs to enable sending emails.
* * * * * php /path/to/mautic/bin/console messenger:consume emailUsing Supervisor to Send emails with Mautic 5 and Amazon SES
For running our workers in the background, we will utilize the supervisor. It’s a program that allows us to spawn processes in the background and ensure that they are running if they are terminated. This allows us to have an always running worker that will check for new emails in the queue and send them.
Here we will cover installing and configuring supervisor on Ubuntu 22.04.
First, connect to your server via SSH and run following command:
sudo apt update && sudo apt install supervisorAfter the installation is completed, the service should run automatically. You can verify that by running the command:
sudo systemctl status supervisorCheck for the following output:
systemctl status supervisor
● supervisor.service - Supervisor process control system for UNIX
     Loaded: loaded (/lib/systemd/system/supervisor.service; enabled; vendor preset: enabled)
     Active: active (running) since Sat 2024-01-13 20:24:30 UTC; 39min ago
       Docs: http://supervisord.org
   Main PID: 807 (supervisord)
      Tasks: 14 (limit: 4556)
     Memory: 718.9M
After the installation, we can move and configure our daemon.
We are spawning the new workers by creating the config file in the supervisor.
sudo nano /etc/supervisor/conf.d/mautic-mail.confNext, paste and adjust the following code to match your Mautic installation:
[program:mautic-mail]
directory=/var/www/path/to/mautic/instance
command=php bin/console messenger:consume email
process_name=%(program_name)s_%(process_num)02d
autostart=true
autorestart=true
user=www-data
redirect_stderr=true
numprocs=1
stdout_logfile=/var/log/mautic/mautic-mail-daemon.log
Let’s explain this in key details:
[program:mautic-mail]
- program: mautic-mail is simply the unique name of your daemon. You can set it to anything you’d like
- directory tells us where your Mautic installation is located
- command – this is the actual command. If you have multiple PHP versions installed on your server, you can use the alias for the version you are using (php8.1, php8.0, or leave php if it’s the correct version)
- autostart and autorestart directives allow us to restart the process in case it’s stopped.
- user is the actual user under which your mautic instance is running. By default, it’s www-data
After updating the config file with your settings, save the file and exit the editor. Next, we will instruct the supervisor to check for new config files.
sudo supervisorctl rereadIf everything is okay, you should see the following output:
Output
mautic-mail: available
After seeing the correct output, we can update the supervisor to run our worker.
sudo supervisorctl updateAnd once again, if everything is okay, we will see the following output;
Output
mautic-mail: added process group
To verify that the worker is running, we can enter the supervisor by running supervisorctl in your terminal.
sudo supervisorctlRight after the launch, supervisor will list the running processes:
Output
mautic-mail                      RUNNING    pid 23274, uptime 0:03:12
supervisor>
To exit supervior, type quit and we are back to our terminal.
And that’s it. If you have followed everything, your Mautic will be configured and sending emails with Amazon SES.
Combined with Redis, you will have a truly scalable solution that will handle sending thousands of emails without any problems.
Leave a Reply